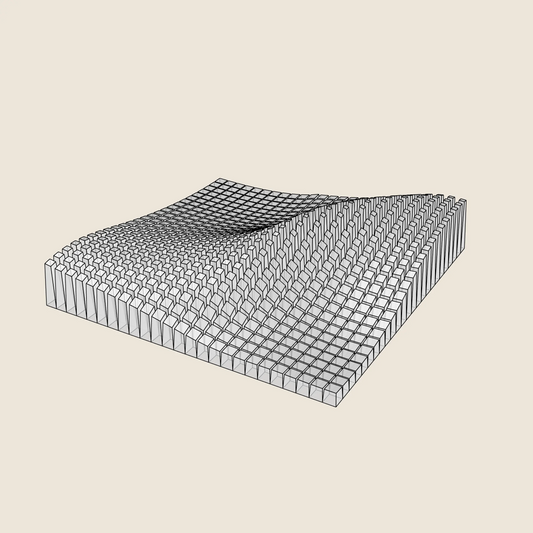
HOW TO LED UPGRADE


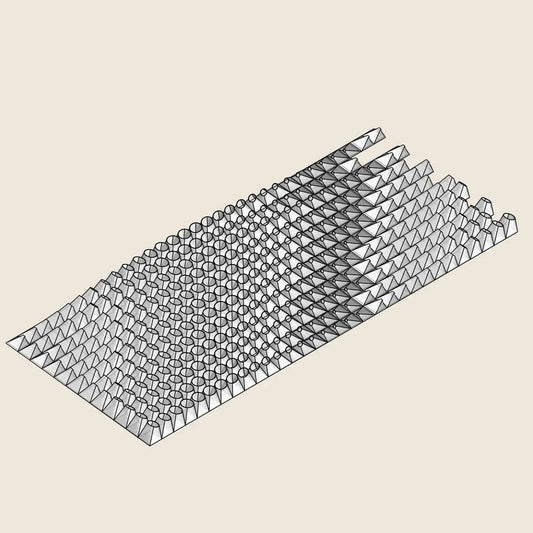
HOLLOW BLOCKS
-

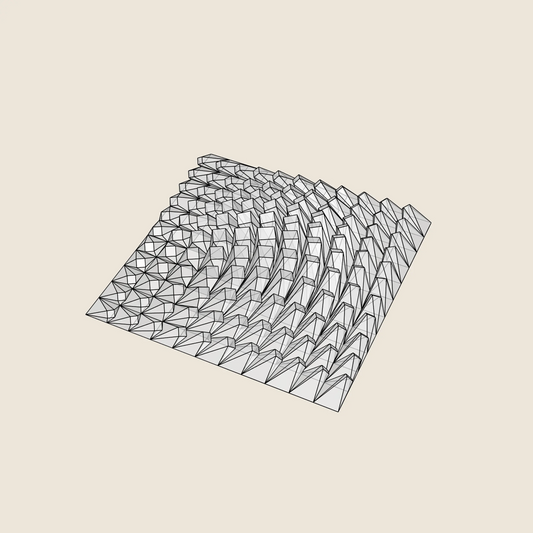
To address the low-rise block printing issue, a hollow version of the block was added (wall thickness 0.4mm).
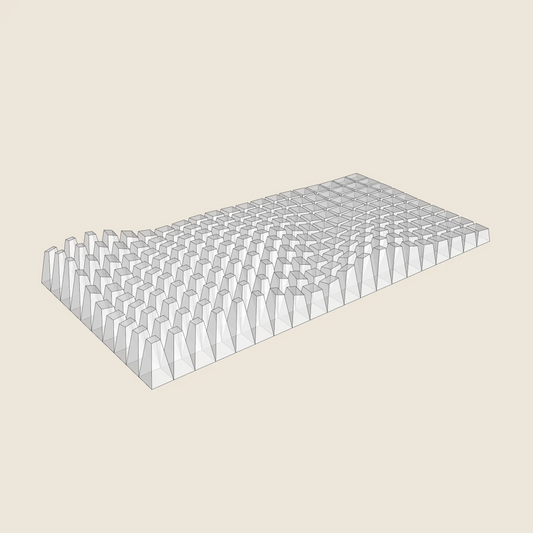
Drag-drop the blocks. Rotated them to get better angle for the rise. This works with both
individual blocks and 4x4 groups—just use "Split to Object" for grouped blocks after rotating. The rotation angle will vary depending on your printer settings, especially cooling and speed. -

Enable supports, and set the threshold angle to match the angle you used for block rotation. Since the blocks are hollow, you won’t need to worry about infill. Since the walls are 0,4mm thick, a single perimeter will be generated.
-

Try adjusting "Detect Thin Wall," "Shell Thickness," and "Extrusion
Width" under Advanced options for more precise control.This setup will generate hollow blocks, inclined and placed on regular supports, which are easy to remove.


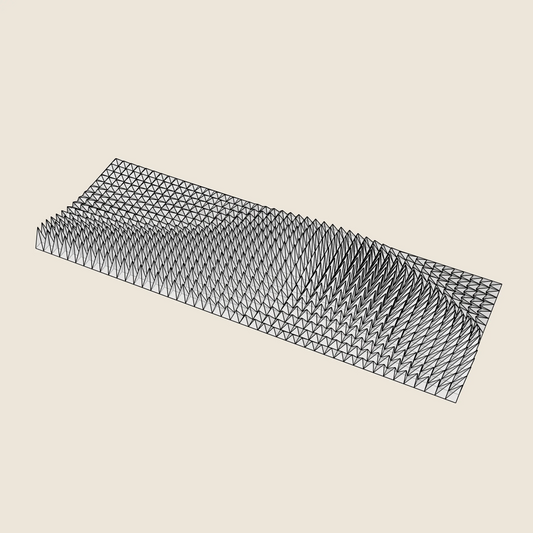
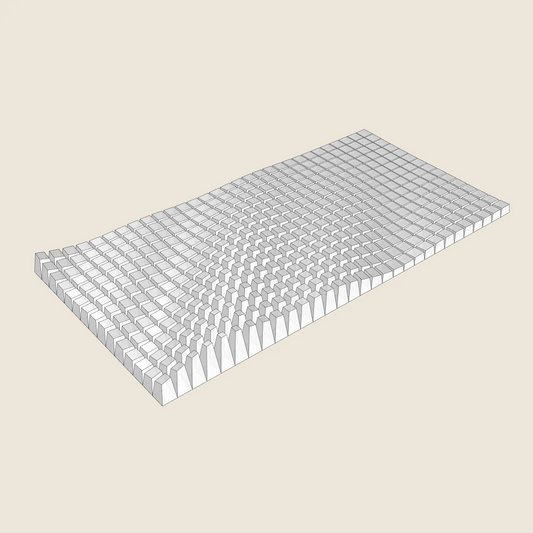
SCALED TO MATCH LED SPACING
-

Blocks were scaled down and the grid spacing was optimized to 33.333 x 33.333 mm to match 30 LED/m strip spacing precisely.
-

-

Blocks are available as individual pieces and as 4x4 grouped configurations.


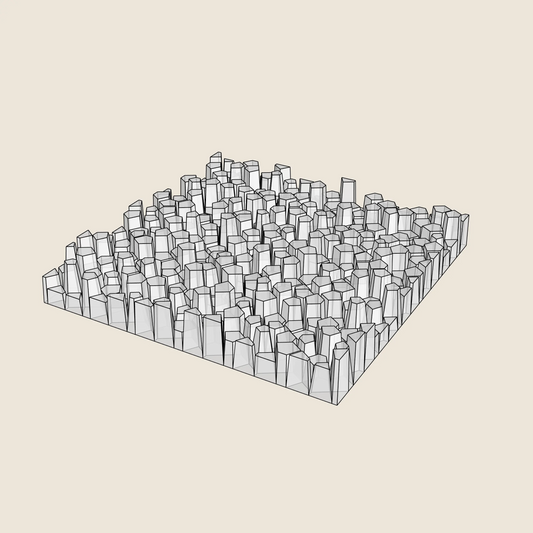
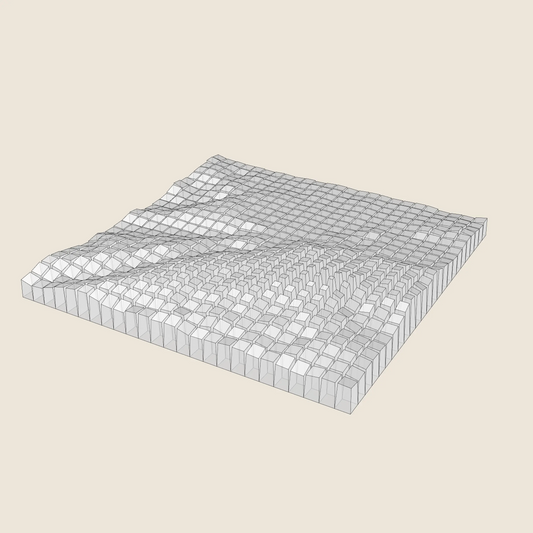
GRID & COLLAR GEOMETRY FOR AN EASY ASSEMBLY
-

Grid geometry for 4x4 groups block arrangement was added.
-

A base "collar" extension was added for easier block alignment within the grid.


OTHER HELPFUL TIPS:
-

PRINT SETTINGS:
*These print settings are copied from Snazzypazzyart's Reddit thread. He developed the LED upgrade from scratch, so some settings may not be necessary with our update.
Prusa Slicer
0.4mm Nozzle
Input Shaper
0.10mm FAST DETAIL
Variable layer (height Adaptive 0.50 (this changed significantly for certain parts, really
needs a minimum layer height of ~0.79-0.81 before the parts start failing)
Seam painting - on (every single part to line up with the underside of the part)
Perimeters: 1
Solid layers top: 0
Solid layers bottom: 0
Thick Bridges: On
Perimeter generator: Classic
Fill gaps: On
Infill density: 0%
Brim width: 4mm (not necessary)Filament temperature for other layers: 240°c
Layer height minimum: 0.05mm
Retraction Length: 0.2mm
Retraction Speed: 25mm/s
Detraction extra length: 0.07mm
Default Extrusion Width: 0.65
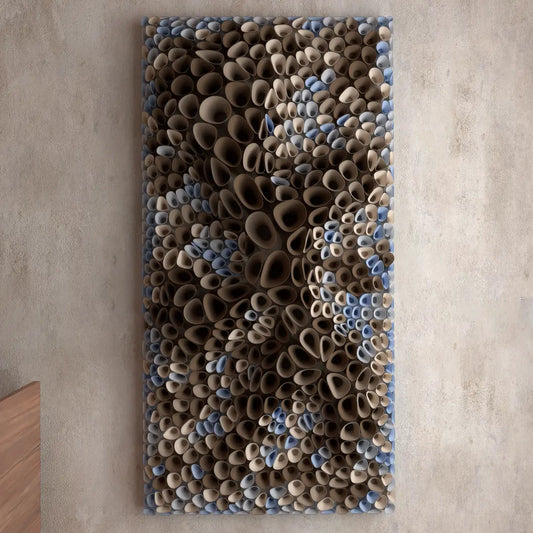
Material: 07_03 Twisted Box by Snazzypazzyart is made of 6kg PLA -

ELECTRONICS:
*These tips are copied from Snazzypazzyart's Reddit thread.
• SK6812 WLEDs
The updated spacing is 33,3mm (so there are 30 diodes per 1m) The IP number is "Ingress Protection (IP) Rating" - which does not matter in this use-case. So you should go with "1m 30 IP30" or "2m 30 IP30" or "5m 30 IP30".
• QuinLED's Dig-Quad LED board
It includes ESP32 controled over WiFi. The board is rated for 30A.
• db25 pin cable
that is running from the box to the piece, which has the power, data, and microphone wires. It is running the audio-reactive MoonModule fork of WLED, and includes different patterns.• 5V40A POWER SUPPLY


GRID & COLLAR
-

Spacing of the grid is 33,333 mm to match 30 LED / 1m stripe.
The original template blocks must be scaled to match the spacing.
Grid can be 3D printed support-less. -

An additional collar geometry is designed to attach to the bottom of the blocks, aiding alignment within the grid. This collar extension ensures proper positioning. You can use the collar geometry as a reference when scaling the block to match the 33.333 mm spacing of a 30 LED/m strip.


COASTER - GRID FOR ORIGINAL BLOCKS
-

The COASTER GRID is exported in three different sizes:
• 50 mm blocks (grid dimension: 52 mm)
• 40 mm blocks (grid dimension: 42 mm)
• 30 mm blocks (grid dimension: 33.333 mm, matching the 30 LED/m strip spacing) -

You can use the original, unmodified Paragami blocks. It is recommended to print with one perimeter, 0% infill, and no bottom solid layers. The grid is exported both as a single block and as a 4x4 group.


COASTER - GRID FOR ORIGINAL PENTAGON BLOCKS
-

The COASTER PENTAGON GRID is exported in two different sizes:
• Original size for the Template blocks
• Scaled down to meet square spacing of 33.333 mm, matching the 30 LED/m strip -

You can use the original, unmodified Paragami blocks. It is recommended to print with one perimeter, 0% infill, and no bottom solid layers. The grid is exported both as a single block and as a whole base.


-
3D MODEL EXPORT for PARAGAMI 07_01 - TWISTED BOX
Regular price $12.00 USDRegular priceUnit price per -
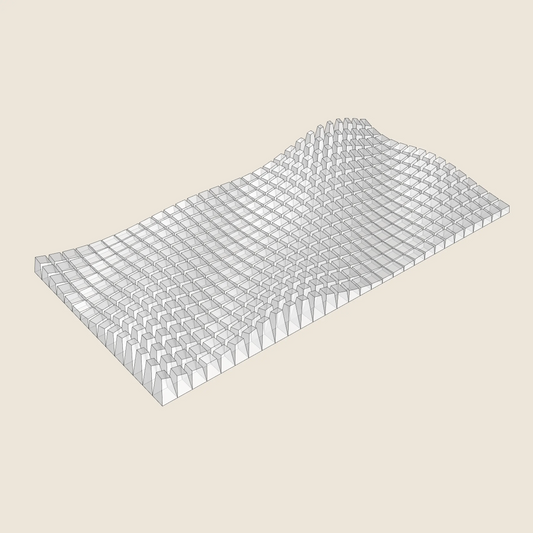
3D MODEL EXPORT for PARAGAMI 01_02 - TRIANGLE WAVE
Regular price $21.00 USDRegular priceUnit price per -
3D MODEL EXPORT for PARAGAMI 07_06 - RANDOM PENTAGONS (3x COLOUR VERSIONS)
Regular price $12.00 USDRegular priceUnit price per -
3D MODEL EXPORT for PARAGAMI 07_04 - CRACKED BULGE
Regular price $12.00 USDRegular priceUnit price per -
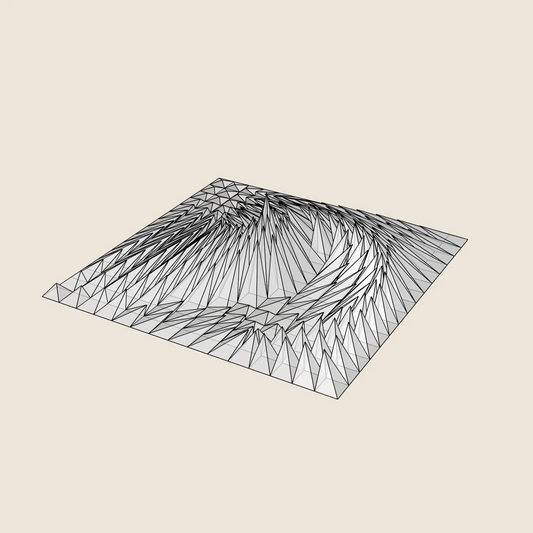
3D MODEL EXPORT for PARAGAMI 01_05 - WHIRL PEAK
Regular price $12.00 USDRegular priceUnit price per -
3D MODEL EXPORT for PARAGAMI 02_03 - HIGH TIDE
Regular price $15.00 USDRegular priceUnit price per -
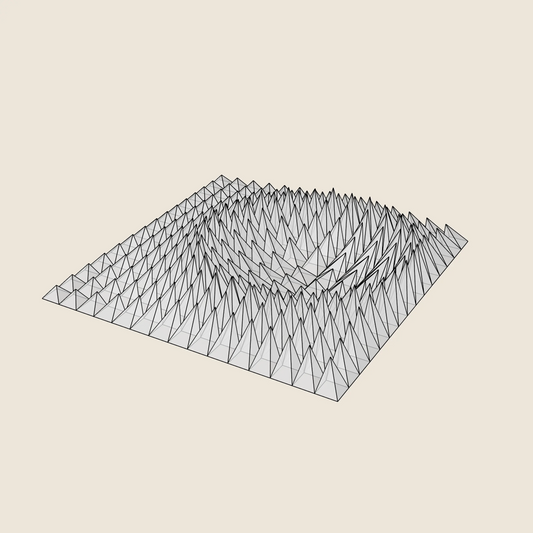
3D MODEL EXPORT for PARAGAMI 01_04 - CRATER RING
Regular price $12.00 USDRegular priceUnit price per -
3D MODEL EXPORT for PARAGAMI 10_06 - FLOATING FUMES
Regular price $18.00 USDRegular priceUnit price per -
3D MODEL EXPORT for PARAGAMI 07_05 - SPIRAL RAMP
Regular price $9.00 USDRegular priceUnit price per$12.00 USDSale price $9.00 USDSale -
3D MODEL EXPORT for PARAGAMI 10_04 - CORAL SPONGE
Regular price $24.00 USDRegular priceUnit price per -
3D MODEL EXPORT for PARAGAMI 01_01 - WINDY FUR
Regular price $15.00 USDRegular priceUnit price per -
3D MODEL EXPORT for PARAGAMI 07_07 - WORLD MAP
Regular price $18.00 USDRegular priceUnit price per -
3D MODEL EXPORT for PARAGAMI 01_06 - PLUNGING WAVE
Regular price $6.00 USDRegular priceUnit price per$12.00 USDSale price $6.00 USDSale -
3D MODEL EXPORT for PARAGAMI 07_03 - TWISTED BOX 03
Regular price $18.00 USDRegular priceUnit price per -
3D MODEL EXPORT for PARAGAMI 07_02 - TWISTED BOX 02
Regular price $15.00 USDRegular priceUnit price per -
3D MODEL EXPORT for PARAGAMI 10_01 - WHIPPING CREAM
Regular price $18.00 USDRegular priceUnit price per -
3D MODEL EXPORT for PARAGAMI 01_03 - TECTONIC COLLISION
Regular price $12.00 USDRegular priceUnit price per -
3D MODEL EXPORT for PARAGAMI 07_09 - MOSS WALL
Regular price $18.00 USDRegular priceUnit price per -
3D MODEL EXPORT for PARAGAMI 02_05 - DIAGONAL WAVE
Regular price $18.00 USDRegular priceUnit price per -
3D MODEL EXPORT for PARAGAMI 02_04 - QUARTER CIRCLE WAVES
Regular price $18.00 USDRegular priceUnit price per -
3D MODEL EXPORT for PARAGAMI 06_01 - PAPER WAVES
Regular price $18.00 USDRegular priceUnit price per -
3D MODEL EXPORT for PARAGAMI 02_01 - BLOCK WAVE
Regular price $9.00 USDRegular priceUnit price per$12.00 USDSale price $9.00 USDSale -
3D MODEL EXPORT for PARAGAMI 15_01 - LUNAR CALENDAR 2025
Regular price $9.00 USDRegular priceUnit price per$18.00 USDSale price $9.00 USDSale -
3D MODEL EXPORT for PARAGAMI 02_02 - DRAPERY FOLDS
Regular price $15.00 USDRegular priceUnit price per -
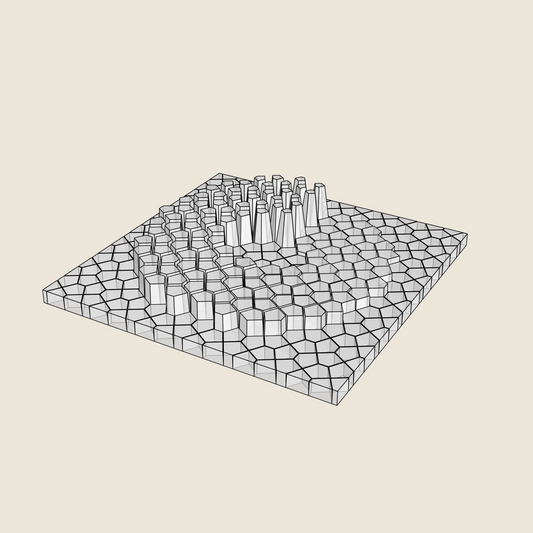
3D MODEL EXPORT for PARAGAMI 03_01 - TOPOGRAPHY EXTRACT
Regular price $15.00 USDRegular priceUnit price per