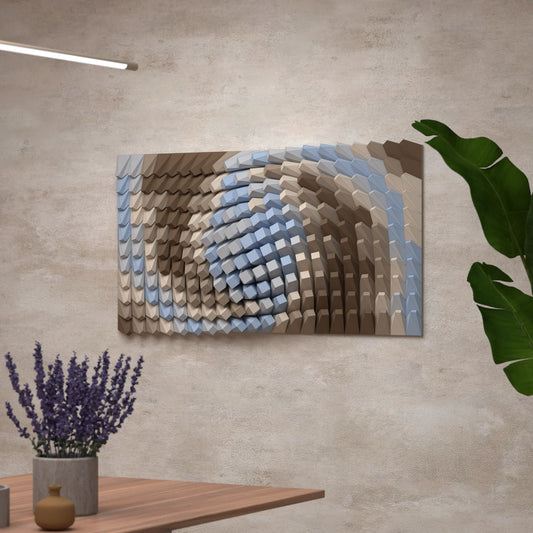
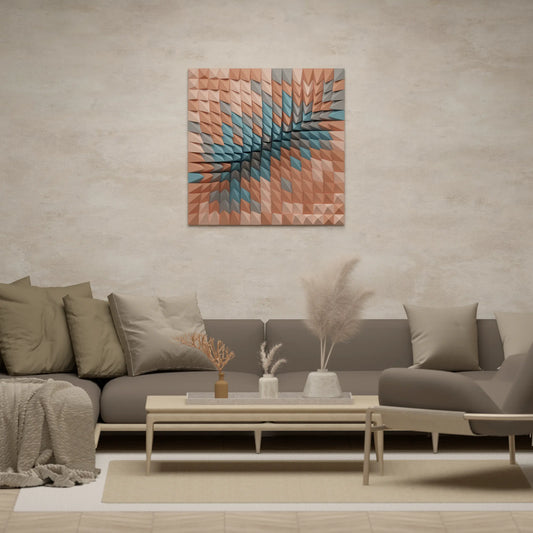
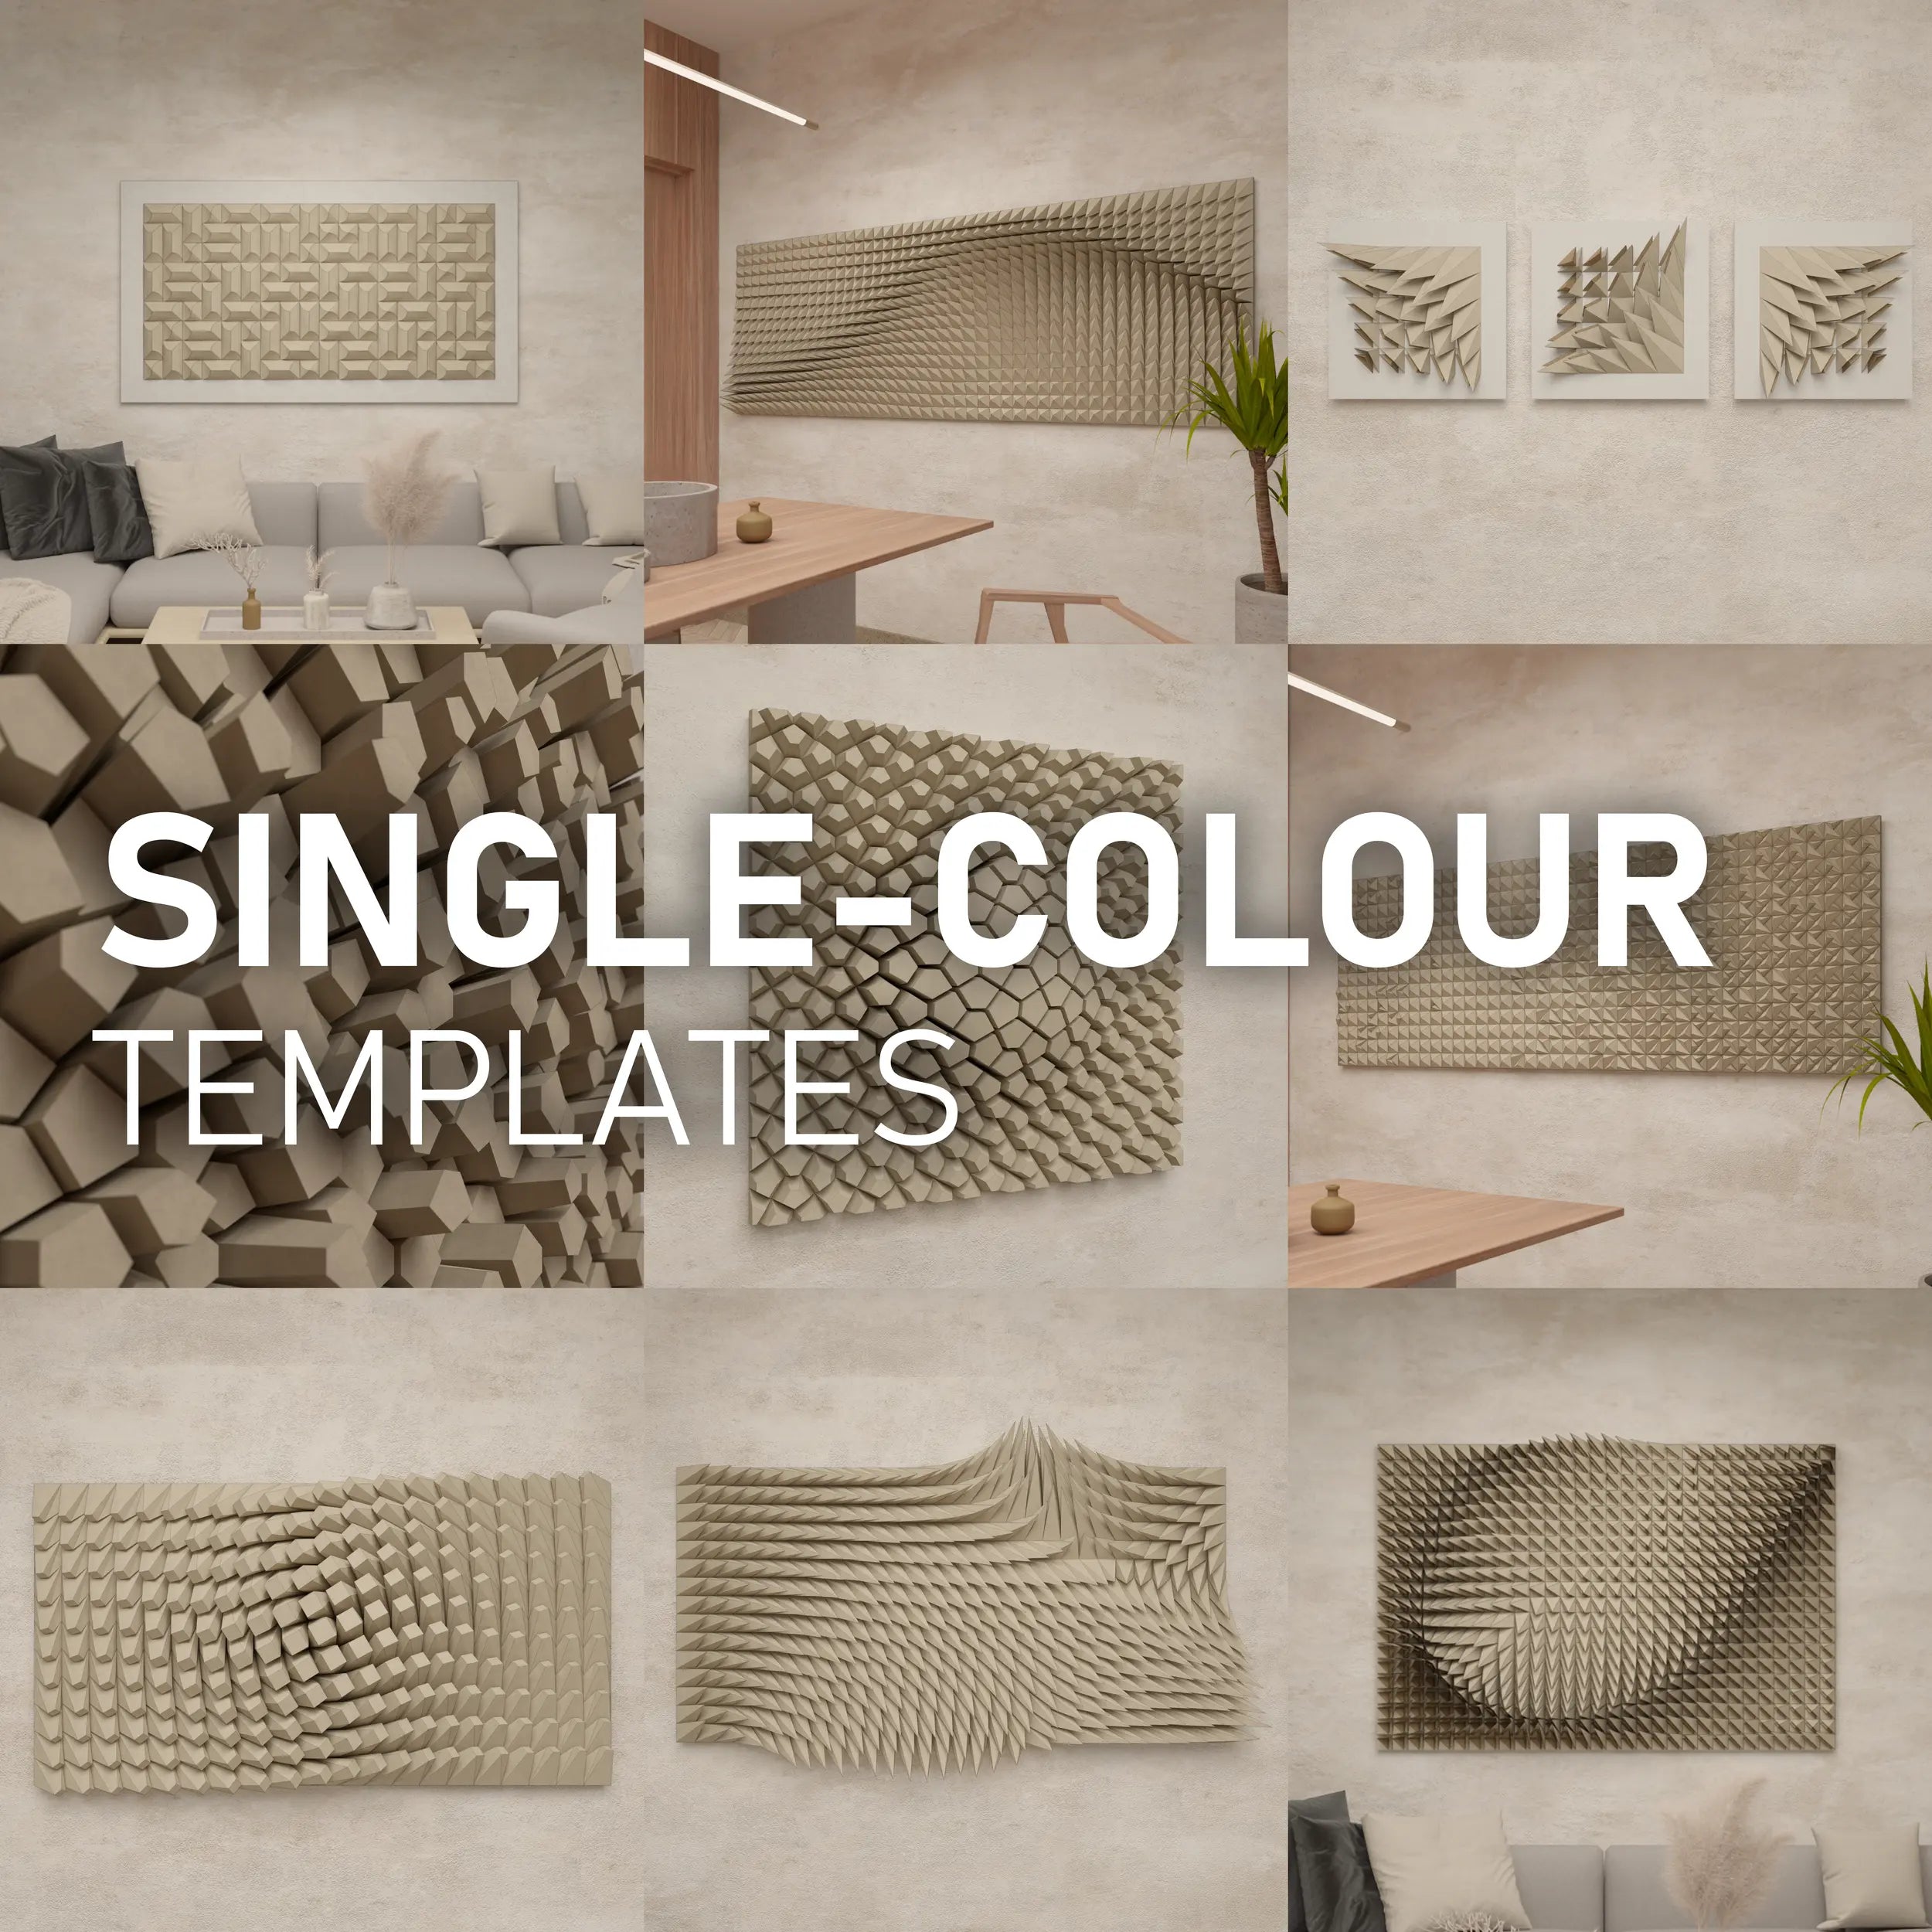
HOW TO 3D PRINTING - Tips & Tricks

WHAT YOU WILL GET?
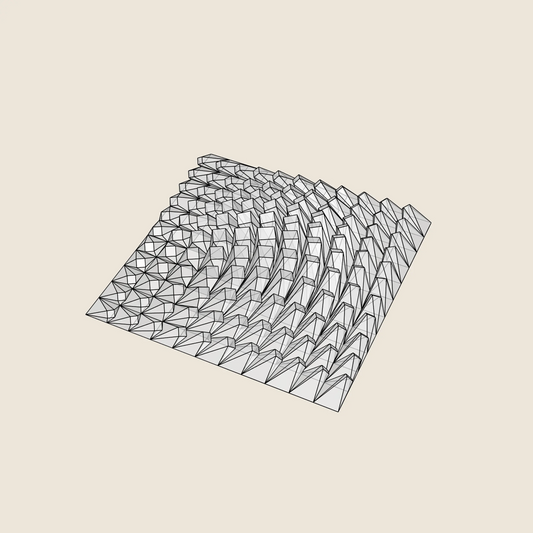
Wondering what you get when purchasing a 3D model export?
Check out what's inside the DOWNLOAD PACKAGE!

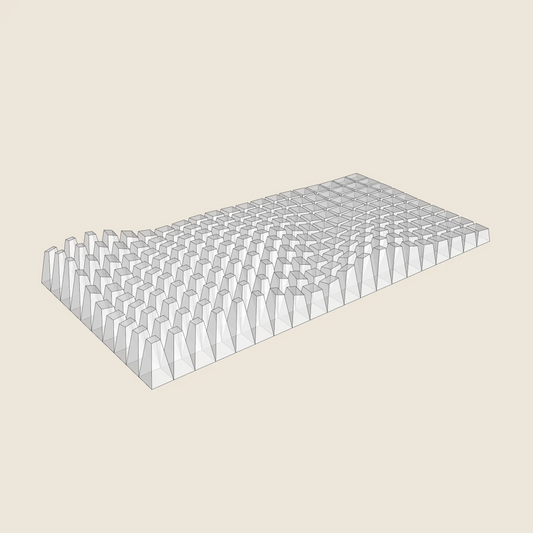
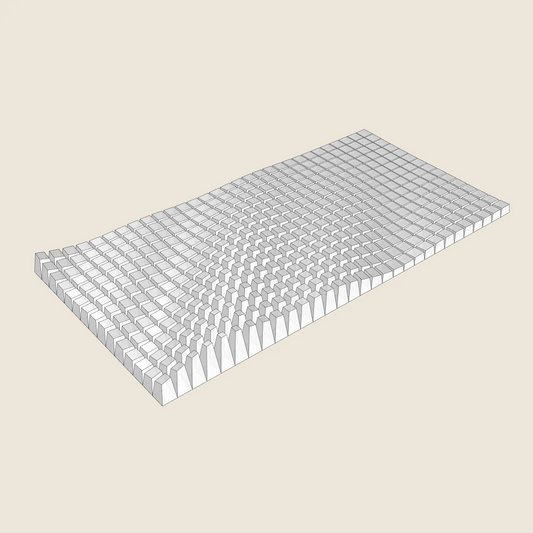
01 / PLAIN vs. NUMBERED BLOCKS
WHAT IS THE DIFFERENCE BETWEEN GEOMETRY IN THE "PLAIN" AND "NUMBERED" FOLDERS
With the latest update, a new folder has been added to the download package. Now, there are two folders. The geometry for the art is almost the same in both. The only difference is that the blocks in the NUMBERED folder have their numbers already embedded within the geometry.
This means you don’t have to mark the number of each block when 3D printing, and there’s no risk of mixing them up during assembly. The downside is that these blocks will take slightly longer to print.
The block number and color are also noted in the file name. Additionally, a PDF layout grid with the number and color group is included.

02 / TOTAL PRINT TIME AND WEIGHT
HOW TO ESTIMATE THE TOTAL PRINTING TIME AND WEIGHT OF THE ART
The printing time and material weight depend on your individual settings and machine.
However, you can make an estimate! Drag and drop the entire model into the Slicer.
Go to Printer Settings and set the print bed large enough to accommodate the entire artwork.
Then configure the print settings—layer height, speed, infill, perimeters, and bottom and top solid layers.
After generating the gcode, you will see the approximate time and material consumption.

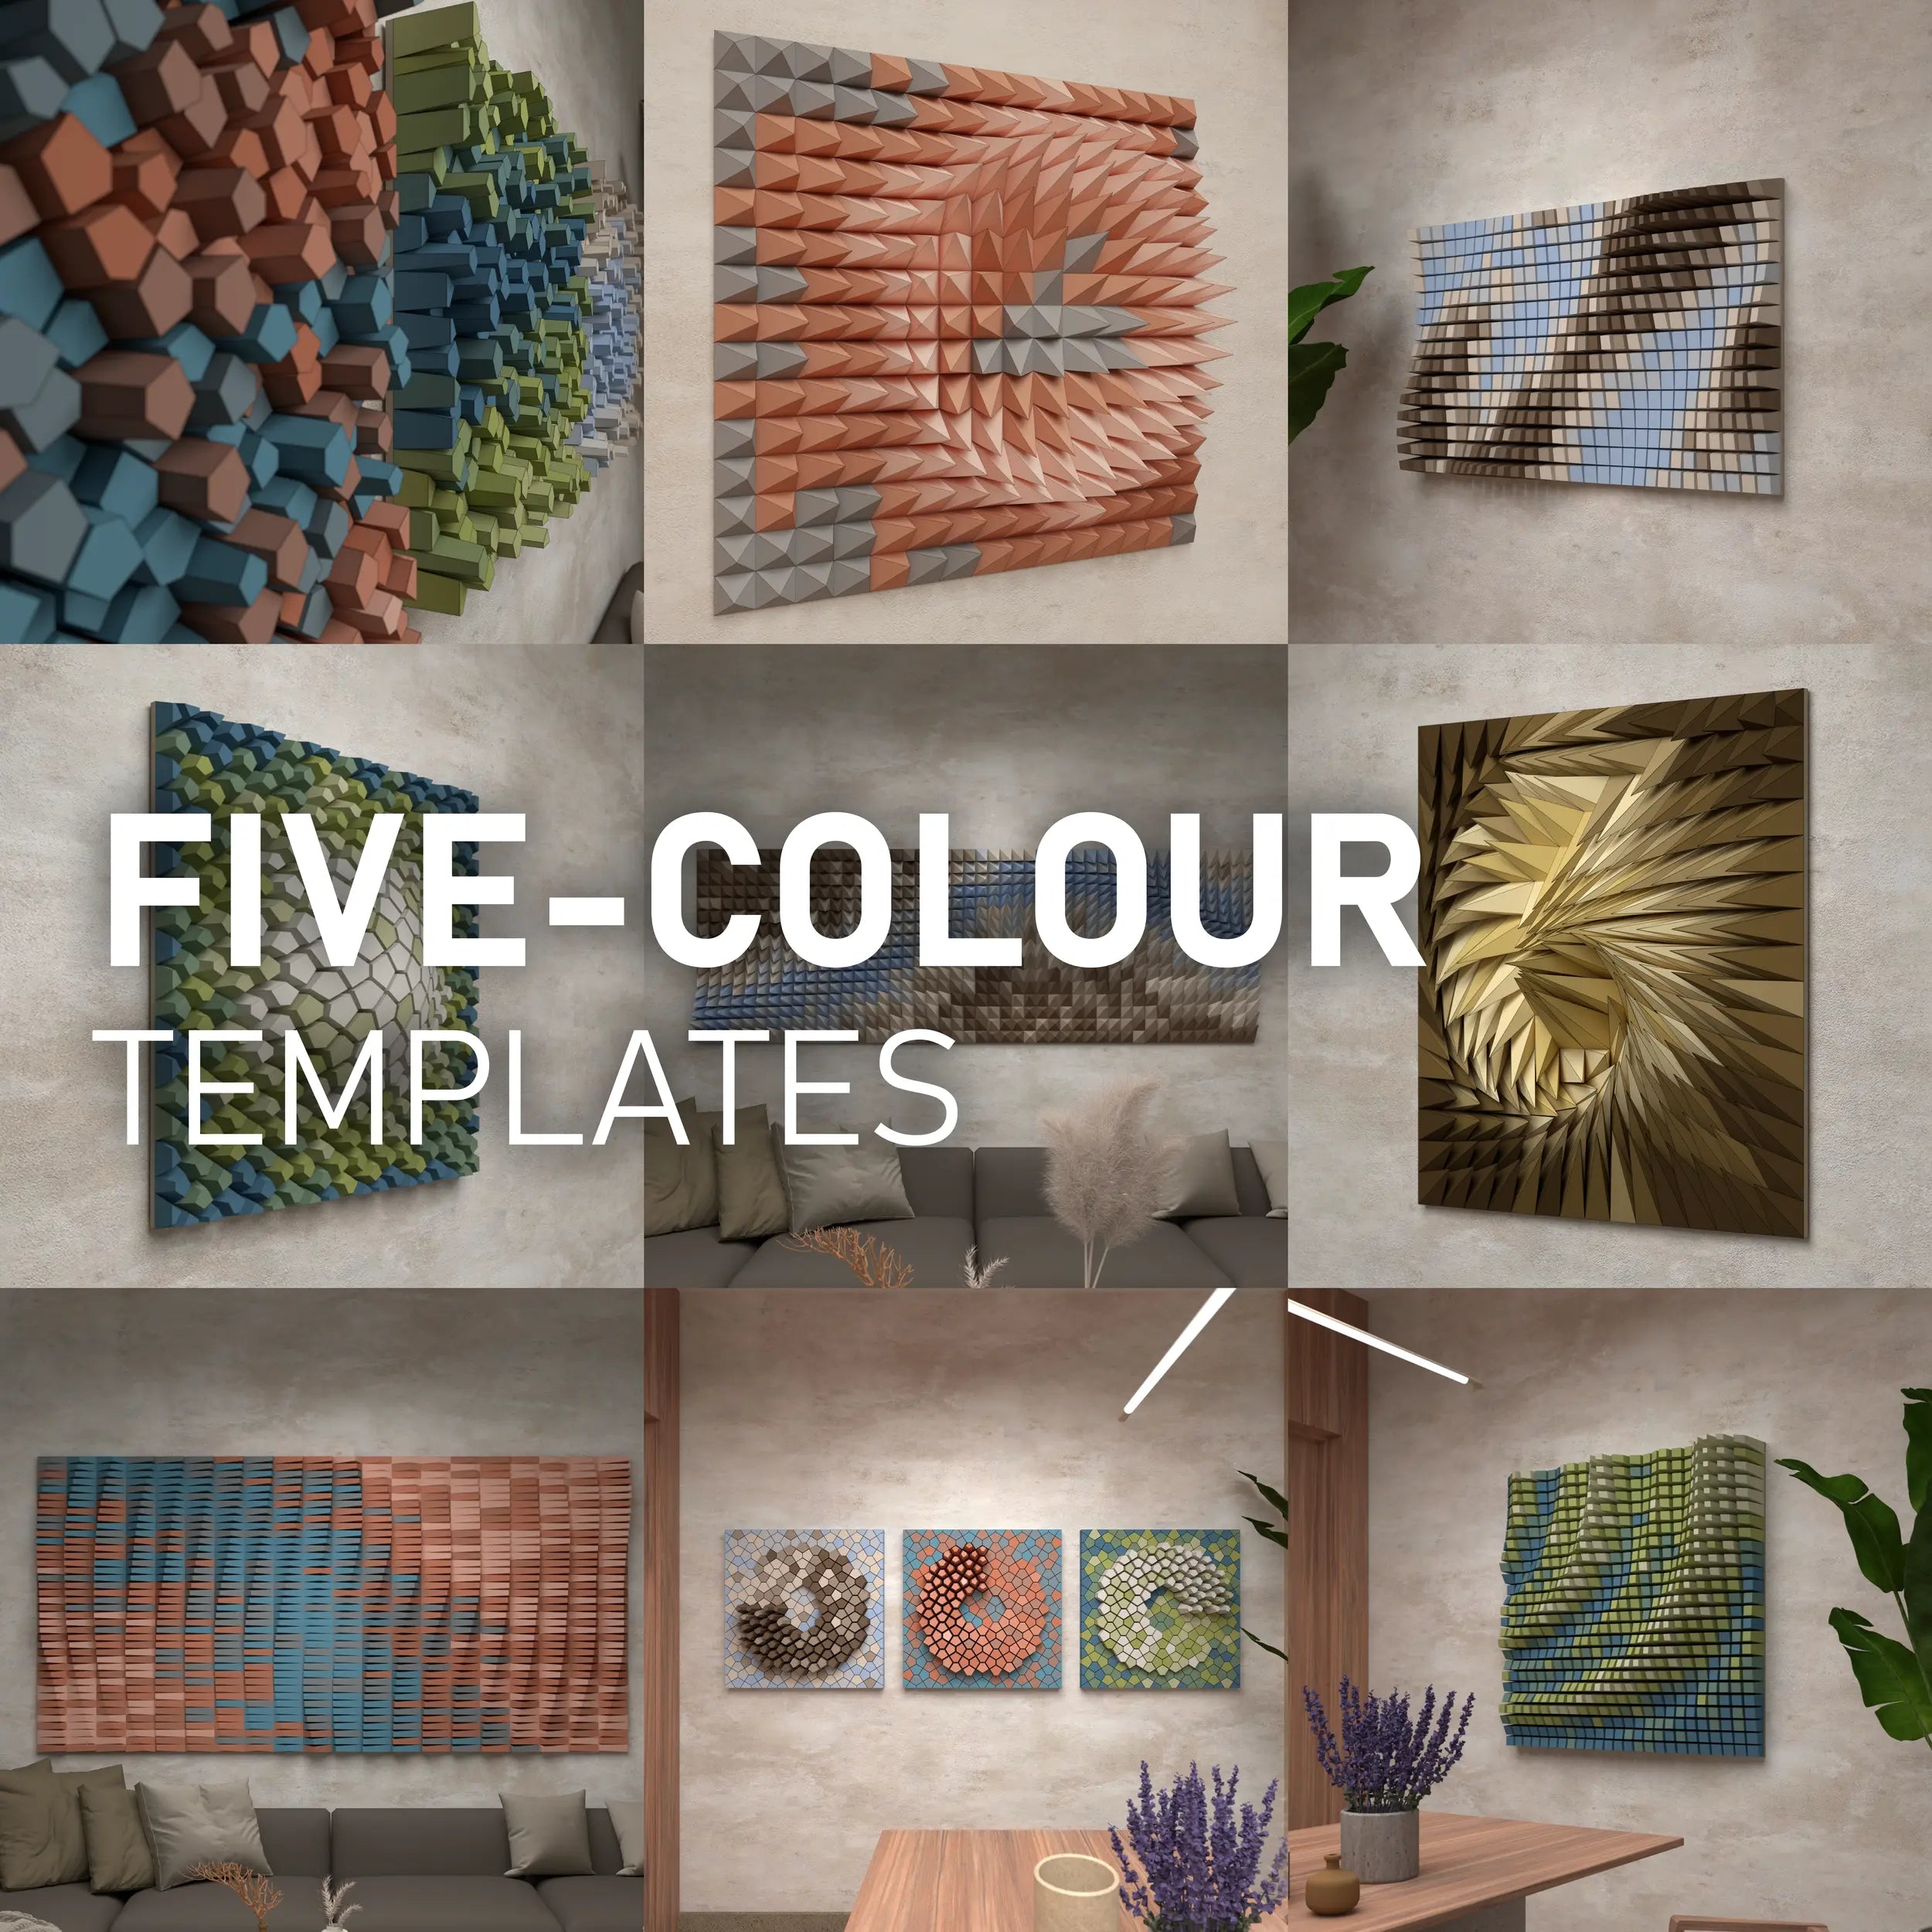
03 / MULTIMATERIAL PRINTER
HOW TO PRINT MULTICOLOR WITH A MULTIMATERIAL PRINTER
For this tutorial, we are using Prusa Slicer and the PRUSA Multimaterial upgrade.
First, select the Multimaterial printer; this tells the program that you are going to make a multicolor print. Then, select all five color part STL files. These files have the color number in the file name.
Drag and drop them into the slicer, and confirm that this is the multicolor model—the slicer will maintain the model coordinates.
You may need to scale the model down to fit the print bed. Then, set up the material and the print itself.

04 / PRINTBED ARRANGEMENT
HOW TO PRINT THE FIVE-COLOR ART SEPARATELY
There are two ways to do this. The first method uses the color-grouped STLs, and the second uses individual blocks.
The first option is using color-grouped STLs.
Drag and drop the first color group STL into the slicer and apply the SPLIT TO OBJECTS function. This will break the model into individual blocks.
Move the model off the bed, and with Shift, reselect only a few blocks that will fit the print bed. Then slice the first gcode.
Return to the model space and move another group of blocks onto the print bed. Generate the second gcode. Continue this process with the rest of the blocks using the remaining color-grouped STLs.
The second option is using Individual Blocks:
Go to the folder named "Blocks" and select several blocks that should be printed in the same color. The color group is indicated in the file name.
Drag and drop them into the slicer and apply the "Arrange" function. This will automatically organize the blocks onto the print bed.
Slice it, save the gcode, and continue with the rest of the blocks.

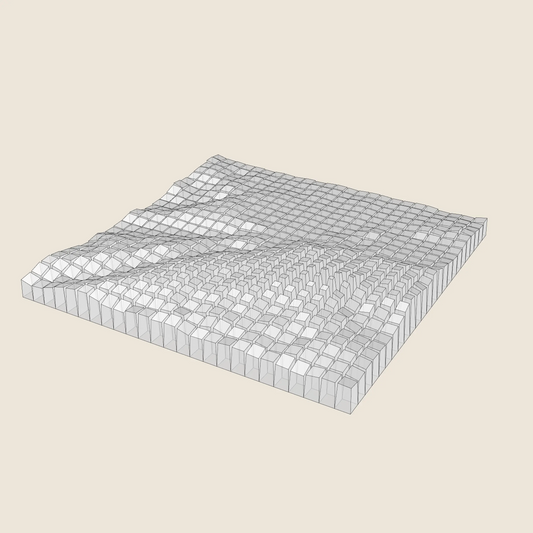
05 / UPSIDE-DOWN = FLAT TOPS
When printing block with flat tops, consider printing the blocks individually and turn them upside-down.
Due to the incline of the tops, a significant layer stepping occurs, and then it is needs effort to smooth it with a sand paper).
When turned upside down, the stepping happend on the base, and the tops are super flat.

06 / OPENED/HOLLOW BLOCKS
In this video, I’ll show you how to 3D print OPEN BLOCKS so you can fill the blocks with flexible acoustic foam to upgrade Paragami into an Acoustic Absorber.
1) Drag & Drop individual blocks into your slicing program (I’m using Prusa Slicer).
2) You can flip them upside down. Then, use the “Arrange” function to evenly distribute the blocks on the print plate.
3) Select one block, click on the “Place on face” tool and choose the face you want as the base. The block will align automatically. Apply this to all the blocks.
4) Print setting:
infill to 0%
2 top solid layers
0 bottom solid layers
2 Perimeters
5) Generate the G-code. Once printed, simply fill them with acoustic (flexible) foam to complete the upgrade.
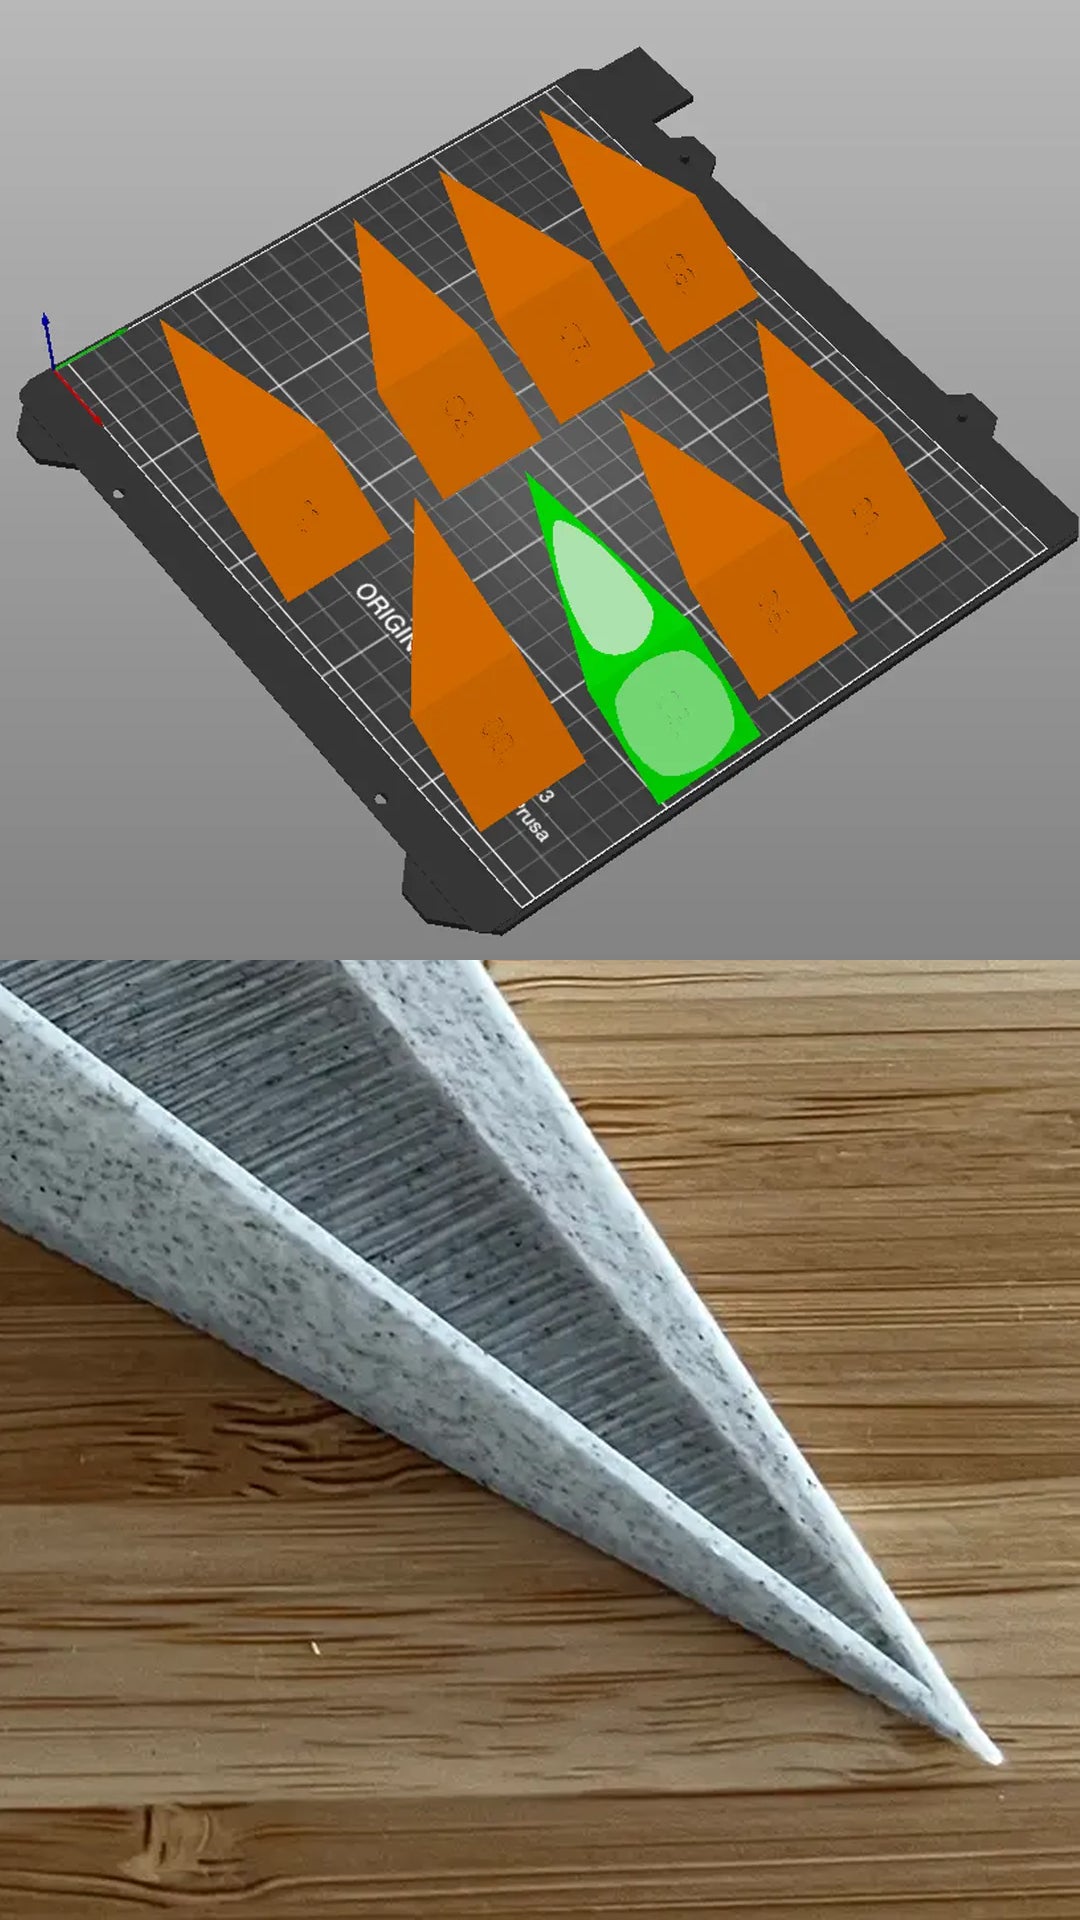
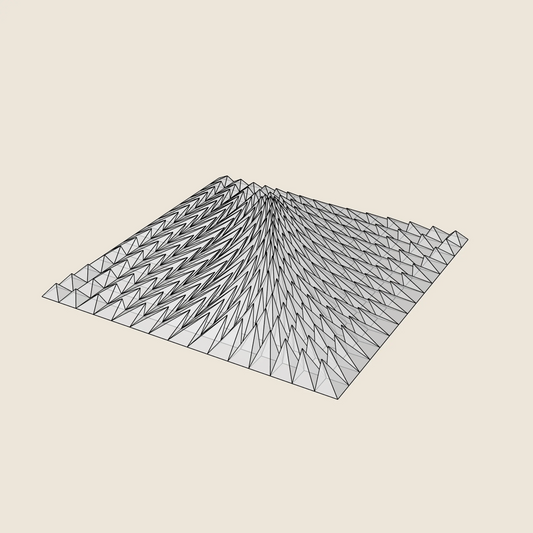
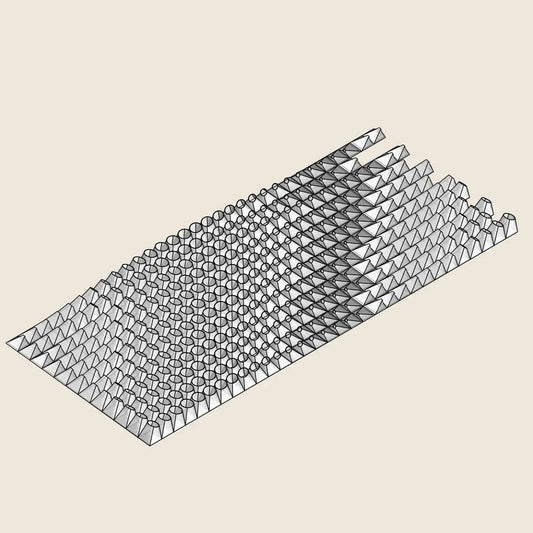
07 / SHARP PYRAMID APEX
You can also create 3D hollow "pyramid"-shaped blocks using the same procedure as for truncated blocks.
This trick of rotating the pyramids also works when you want to achieve a sharper pyramid apex. Printing on side often improves the sharpness of the apex, which can be difficult to perfect when printed in the default upright position.

08 / LED UPGRADE
Jump on the latest trend by upgrading Paragami with LED lighting. Transform your wall art with custom lighting patterns. Read more in this dedicated article.

09 / PREVIEW COLOUR COMBINATIONS IN SLICER
You can preview different color combinations directly in Slicer (PrusaSlicer) before generating the G-code.
1) Set your printer to a multimaterial printer (e.g., MK3S+MMU3). If this option isn’t available, add it via the Configuration Wizard.
2) Select all five STLs (Color 1–5) in the folder and drag & drop them into Slicer. Confirm the notification indicating a multimaterial print.
3) Assign colors to each extruder by clicking the small color square next to the Filament setting. Then, assign the STL parts to the corresponding extruders.
4) To view the entire artwork, scale it down to fit the print bed or go to the Printer Settings tab and increase the Bed Shape size.

10/ MIRROR & CUT / TILE
You can mirror and tile the entire art. Also you can crop it to desired ratio.
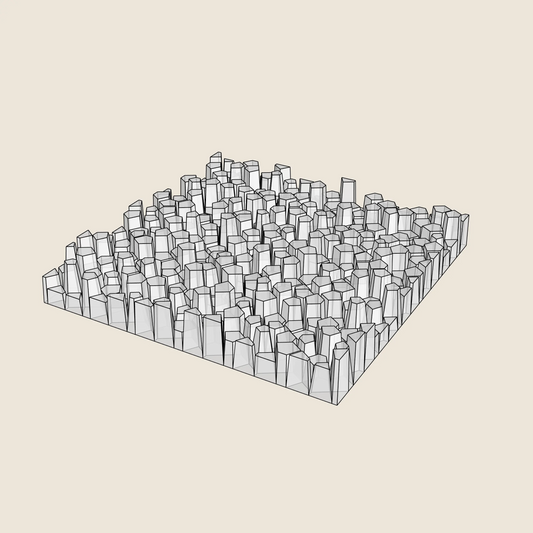
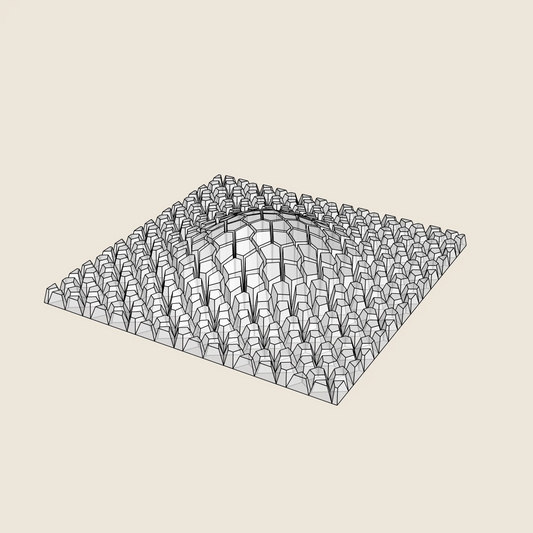
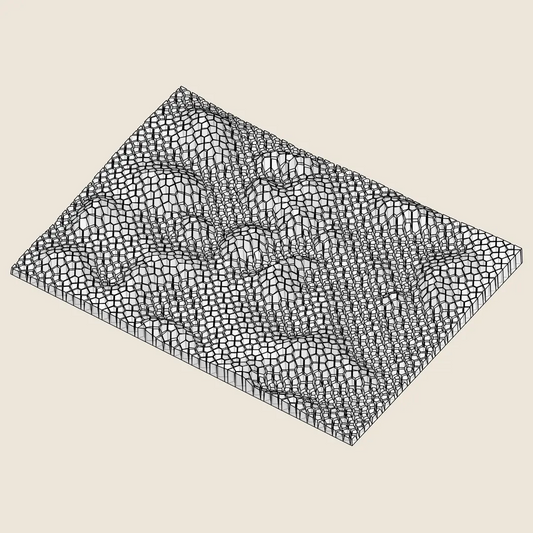
1) The best for tiling are the templates, that are immediately tileable. In these, all edge blocks have the same height, or the height does not matter and are vertical. Examples include Cracked Bulge, Random Pentagons, or Spiral Ramp. Those are tileable.
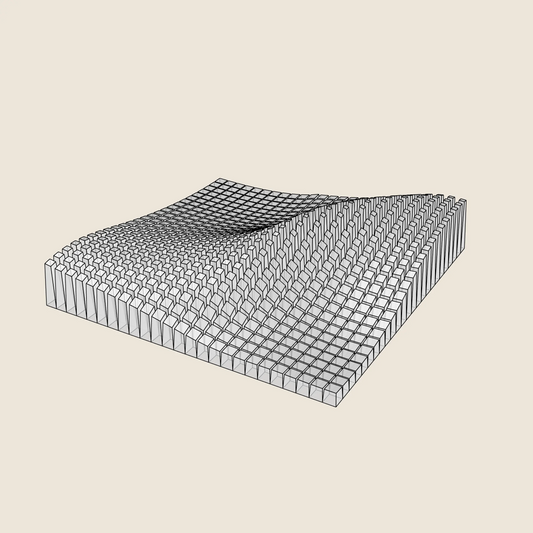
2) Then there are designs with vertical blocks, but the blocks at the
edges are not the same height. These can be tiled if you mirror each
tile (the whole piece). Examples include Diagonal Wave, Quarter
Circle Waves, High Tide, and Block Wave.
3) The designs with blocks extending from the base are impossible to
tile. These blocks are not perfectly vertical (90°) at the edges. For
example, Windy Fur is not suitable for tiling.
-
3D MODEL EXPORT for PARAGAMI 07_01 - TWISTED BOX
Regular price $12.00 USDRegular priceUnit price per -
3D MODEL EXPORT for PARAGAMI 01_02 - TRIANGLE WAVE
Regular price $21.00 USDRegular priceUnit price per -
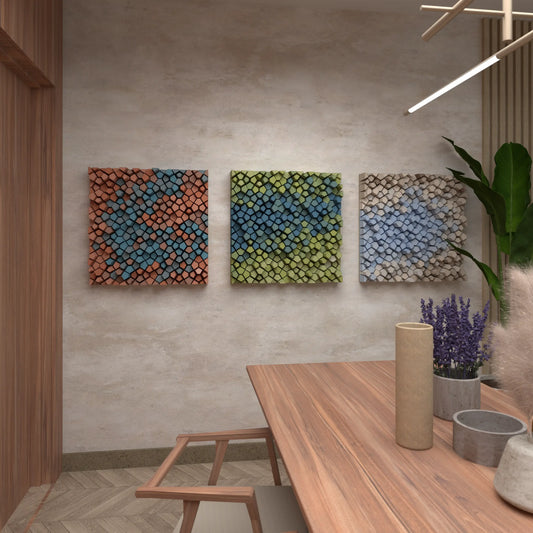
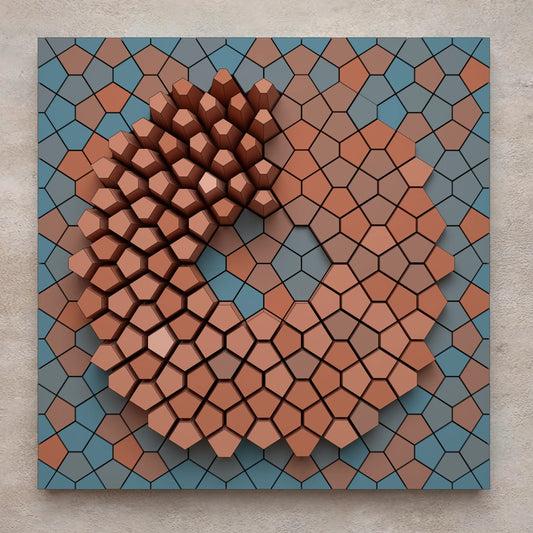
3D MODEL EXPORT for PARAGAMI 07_06 - RANDOM PENTAGONS (3x COLOUR VERSIONS)
Regular price $12.00 USDRegular priceUnit price per -
3D MODEL EXPORT for PARAGAMI 07_04 - CRACKED BULGE
Regular price $12.00 USDRegular priceUnit price per -
3D MODEL EXPORT for PARAGAMI 01_05 - WHIRL PEAK
Regular price $12.00 USDRegular priceUnit price per -
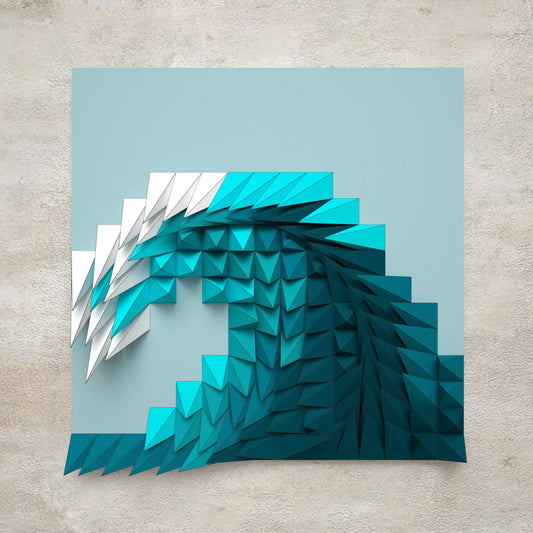
3D MODEL EXPORT for PARAGAMI 02_03 - HIGH TIDE
Regular price $14.00 USDRegular priceUnit price per -
3D MODEL EXPORT for PARAGAMI 01_04 - CRATER RING
Regular price $12.00 USDRegular priceUnit price per -
3D MODEL EXPORT for PARAGAMI 07_05 - SPIRAL RAMP
Regular price $8.00 USDRegular priceUnit price per$12.00 USDSale price $8.00 USDSale -
3D MODEL EXPORT for PARAGAMI 10_04 - CORAL SPONGE
Regular price $23.00 USDRegular priceUnit price per -
3D MODEL EXPORT for PARAGAMI 01_01 - WINDY FUR
Regular price $14.00 USDRegular priceUnit price per -
3D MODEL EXPORT for PARAGAMI 10_06 - FLOATING FUMES
Regular price $17.00 USDRegular priceUnit price per -
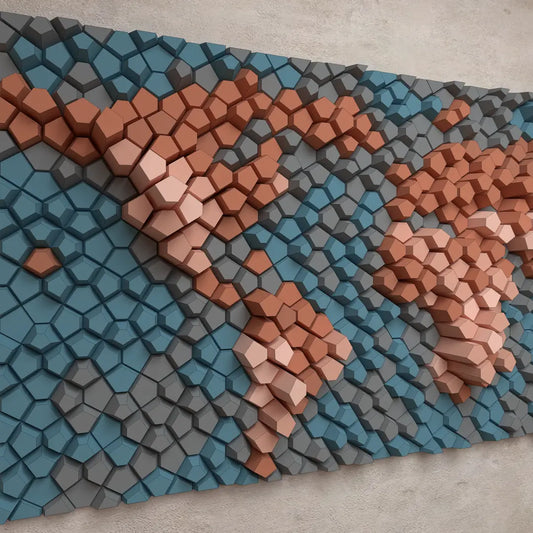
3D MODEL EXPORT for PARAGAMI 07_07 - WORLD MAP
Regular price $17.00 USDRegular priceUnit price per -
3D MODEL EXPORT for PARAGAMI 01_06 - PLUNGING WAVE
Regular price $6.00 USDRegular priceUnit price per$12.00 USDSale price $6.00 USDSale -
3D MODEL EXPORT for PARAGAMI 07_03 - TWISTED BOX 03
Regular price $17.00 USDRegular priceUnit price per -
3D MODEL EXPORT for PARAGAMI 07_02 - TWISTED BOX 02
Regular price $14.00 USDRegular priceUnit price per -
3D MODEL EXPORT for PARAGAMI 10_01 - WHIPPING CREAM
Regular price $17.00 USDRegular priceUnit price per -
3D MODEL EXPORT for PARAGAMI 01_03 - TECTONIC COLLISION
Regular price $12.00 USDRegular priceUnit price per -
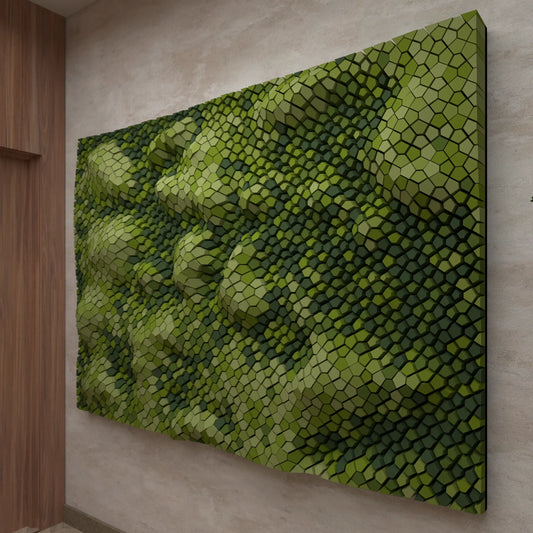
3D MODEL EXPORT for PARAGAMI 07_09 - MOSS WALL
Regular price $17.00 USDRegular priceUnit price per -
3D MODEL EXPORT for PARAGAMI 02_05 - DIAGONAL WAVE
Regular price $17.00 USDRegular priceUnit price per -
3D MODEL EXPORT for PARAGAMI 02_04 - QUARTER CIRCLE WAVES
Regular price $17.00 USDRegular priceUnit price per -
3D MODEL EXPORT for PARAGAMI 06_01 - PAPER WAVES
Regular price $17.00 USDRegular priceUnit price per -
3D MODEL EXPORT for PARAGAMI 02_01 - BLOCK WAVE
Regular price $9.00 USDRegular priceUnit price per$12.00 USDSale price $9.00 USDSale -
3D MODEL EXPORT for PARAGAMI 02_02 - DRAPERY FOLDS
Regular price $14.00 USDRegular priceUnit price per -
3D MODEL EXPORT for PARAGAMI 15_01 - LUNAR CALENDAR 2025
Regular price $9.00 USDRegular priceUnit price per$17.00 USDSale price $9.00 USDSale -
3D MODEL EXPORT for PARAGAMI 03_01 - TOPOGRAPHY EXTRACT
Regular price $14.00 USDRegular priceUnit price per