HOW TO MAKE BACKBOARD
Creating a custom backboard for Paragami 3D wall art is an essential step to ensure your art is both secure and visually appealing. The backboard provides structural integrity, holds the pieces in place, and allows for easy mounting on the wall.
In this tutorial, we'll walk you through the process of making a backboard, choosing materials, and highlighting important things to keep in mind.
01 / MATERIAL
-

FOAM CORE / KAPA FOAM BOARD
Pros: Lightweight, easy to cut, and readily available. Perfect for smaller or lightweight pieces.
Cons: Not as durable as other materials and may warp under heavy weight or in humid conditions.
Best for: Temporary displays or light art.
-

ALUMINIUM FOAM BOARD
Pros: Lightweight yet incredibly strong due to the combination of aluminum layers and a foam core. It’s resistant to warping, moisture, and environmental damage, making it ideal for both indoor and outdoor use. The sleek, metallic finish also adds a modern aesthetic.
Cons: More expensive than other options, and cutting requires specific tools designed for metal. It’s also harder to attach objects securely compared to wood-based materials.
Best for: Large, high-end, or outdoor 3D wall art, where durability and a sleek, contemporary look are important.
-

CARDBOARD
Pros: Extremely lightweight, easy to cut, and widely available. It’s an eco-friendly option, ideal for lightweight, temporary displays.
Cons: Cardboard is flimsy, not durable, and sensitive to moisture or damage. It also has limited structural strength.
Best for: Temporary or small art pieces, or lightweight projects.
-

PLYWOOD
Pros: Sturdy, lightweight, and available in a variety of thicknesses. A versatile material offering a balance of weight and strength.
Cons: Plywood edges can splinter and may require sanding or sealing.
Best for: Medium-sized art and outdoor-friendly projects (if sealed properly).
-

ORIENTED STRAND BOARD (OSB)
Pros: Durable, strong, and cost-effective. OSB is made from wood strands and resins, giving it good structural integrity.
Cons: Rough texture that may require sanding or covering, and it can absorb moisture, so it’s not ideal for humid environments without sealing.
Best for: Large, budget-friendly projects where texture isn’t a major concern.
-

MEDIUM DENSITY FIBERBOARD (MDF)
Pros: Smooth surface, ideal for painting and finishes. It’s strong and doesn’t warp easily.
Cons: Heavier than plywood and difficult to cut without proper tools. Not suitable for humid environments.
Best for: Large or heavy indoor art installations.
-

CHIPBOARD
Pros: Inexpensive and easy to work with, ideal for budget projects.
Cons: Less durable, especially if exposed to moisture. It lacks the strength of MDF or plywood.
Best for: Budget-friendly projects where strength isn’t a major concern.
-

ACTYLIC SHEETS
Pros: Lightweight, easy to cut, and readily available. Perfect for smaller or lightweight pieces.
Cons: Not as durable as other materials and may warp under heavy weight or in humid conditions.
Best for: Temporary displays or light art.
-

SOLID WOOD - JOINTED
Pros: Made from smaller pieces of wood that are glued or jointed together, these boards are durable and more affordable than a single piece of wood. They’re strong and ideal for large pieces where a uniform appearance isn’t necessary.
Cons: The visible joints or seams might not be ideal for all design aesthetics. They can be heavy and might require sanding or finishing to ensure a smooth look.
Best for: Heavy-duty 3D wall art where strength is essential, or for a rustic, natural look with visible wood grain and joints.
-

SOLID WOOD - VENEER COATED
Pros: These boards feature a thin layer of real wood veneer on top of a base material like MDF, plywood, or chipboard. The veneer gives the appearance of solid wood at a lower cost. It’s lightweight, and the veneer provides a high-quality finish with a polished wood look.
Cons: The veneer can chip or peel over time, especially along the edges. It doesn’t have the same durability or strength as fully solid wood.
Best for: Projects where you want the appearance of wood without the cost or weight of a full solid wood board.
-

CORK BOARD
Pros: Lightweight, easy to work with, and eco-friendly. Cork board has a soft, natural texture that can add visual warmth to your project. It’s also great if you want to use pins to hold lighter 3D art pieces in place.
Cons: Not suitable for heavy art, as it doesn’t provide strong structural support. Can be prone to crumbling if not handled carefully.
Best for: Lightweight, smaller 3D art pieces or installations where texture is part of the design.
-

MASONITE (HARDBOARD)
Pros: Masonite is a type of engineered wood made from compressed wood fibers, providing a smooth and dense surface. It is relatively inexpensive and easy to work with, making it suitable for various projects. Masonite is less likely to warp compared to traditional wood, and it can be painted or finished easily to achieve the desired look.
Cons: While Masonite is strong, it is not as durable as solid wood or plywood. It can be susceptible to moisture, so it’s not ideal for high-humidity environments unless sealed properly. Additionally, it can be heavy, depending on the thickness.
Best for: Indoor 3D wall art installations, especially where a smooth surface finish is desired. It’s a great choice for projects that require painting or a smooth finish for attaching art pieces.
-

METAL SHEET + MAGNETIC TAPE
Pros: The magnetic tape system allows the blocks to be attached and repositioned easily, enabling creative adjustments and reorganization without damaging the artwork or backboard. The metal sheet works seamlessly with the magnetic tape, providing a secure attachment for the blocks.The exposed metal surface can add a sleek, modern look to the artwork.
Cons: Metal sheets can be heavy, requiring sturdy wall mounts and additional support for large installations. Without proper coating or treatment, the metal sheet may corrode in humid or wet environments.Best for: Dynamic wall art installations where flexibility and adjustability are important or art pieces where blocks need to be rearranged frequently.
02 / CUTTING AND PREPARING THE BACKBOARD
-
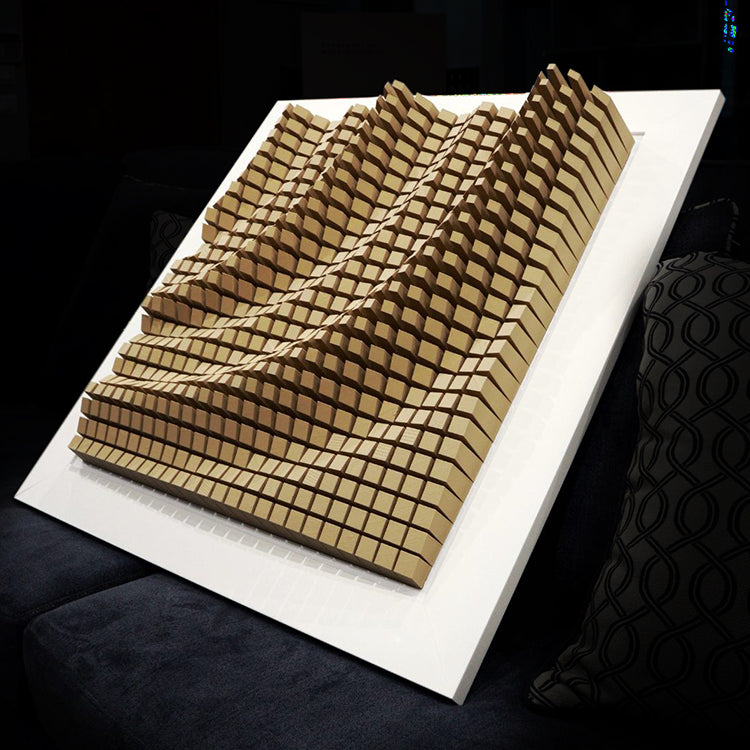
EDGES
Cutting the board bigger that is the size of the art and leaving plain edges will make it look more artistic and clean.
-
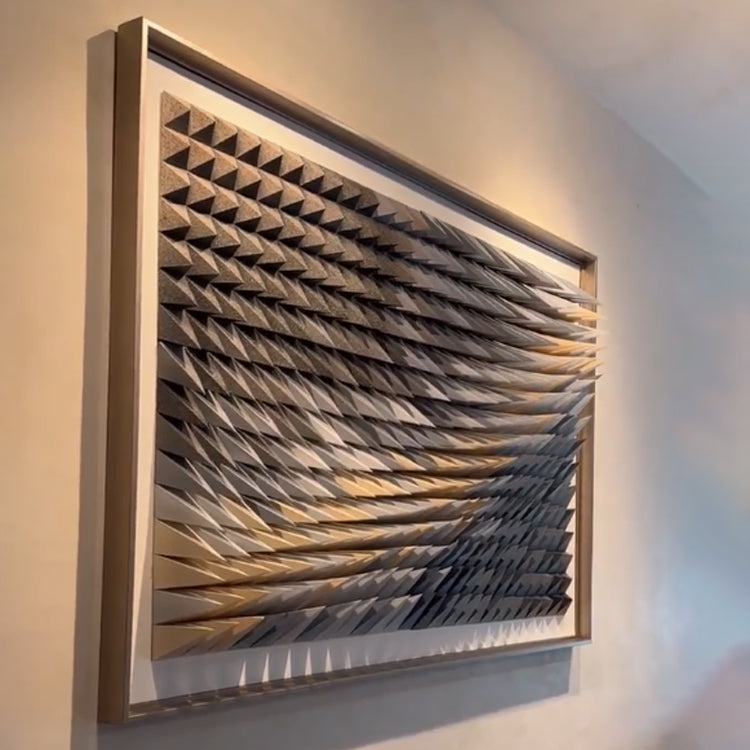
FRAME
Framing is the unsung hero of wall art - the final touch that takes the piece to the next level. A well-chosen frame doesn’t just complement the art; it elevates it, adding depth and sophistication to the presentation.
-

SHADOW BOX
To protect your art from dust, use a shadow box. Read more about dust challenge in this article.
Once you’ve selected your material, it’s time to cut it to the size you need.
- Measure the dimensions of your 3D art layout. If the art follows a grid, make sure to leave a small border around the edges of the backboard for a clean, framed look. Dimensions are also written on the Layout page.
- Cut the material with the appropriate tools. Use a utility knife for foamboard, a saw for plywood, MDF, or wood. For acrylic, a jigsaw or circular saw with a fine-tooth blade works best. It is usally possible to get the board cut directly in the hardware store when purchasing.
- Sand the edges of plywood, MDF, or wood to remove any roughness and splinters. You can also apply edge banding to MDF or plywood for a cleaner, finished look.
- Prime or paint your backboard if desired. This is particularly important for MDF, plywood, and wood to protect them from moisture or environmental damage. Use primer first and let it dry before applying paint
03 / HANGING
-

PICTURE HANGER
When comes to hanging you should consider the weight of the art piece (which will be significantly defined by the type of the backboard). The classic picture hanger will do fine with kapa boards and cardboard. You can use the hot glue gun to mount it.
-

CORD
For more heavy pieces use multiple hooks to spread the load. Using a cord or a wire will help you balanding the art. As the pyramids/blocks are no the same size and are not distribudet equally over the layout, the cente of gravity won't be in the centre point of the art.
-

WIRE
As an alternative to a cord, you can use a wire.
04 / LAYOUT GRID
-
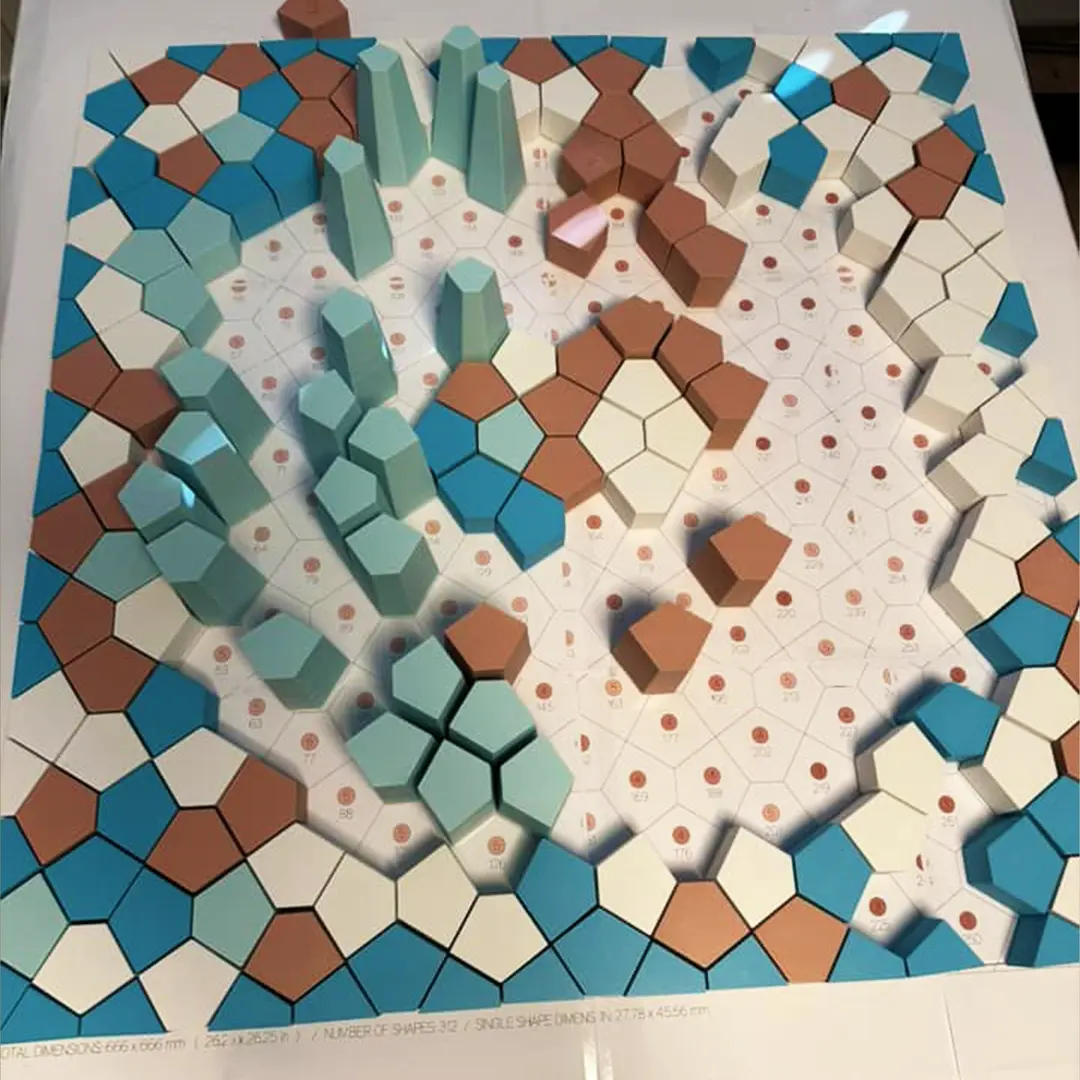
PREASSEMBLY
You can print out the attached PDF layout in full-scale even on you home printer (use Poster mode) and preasseble the blocks on it. And then move it to the backboard row-by-row.
-
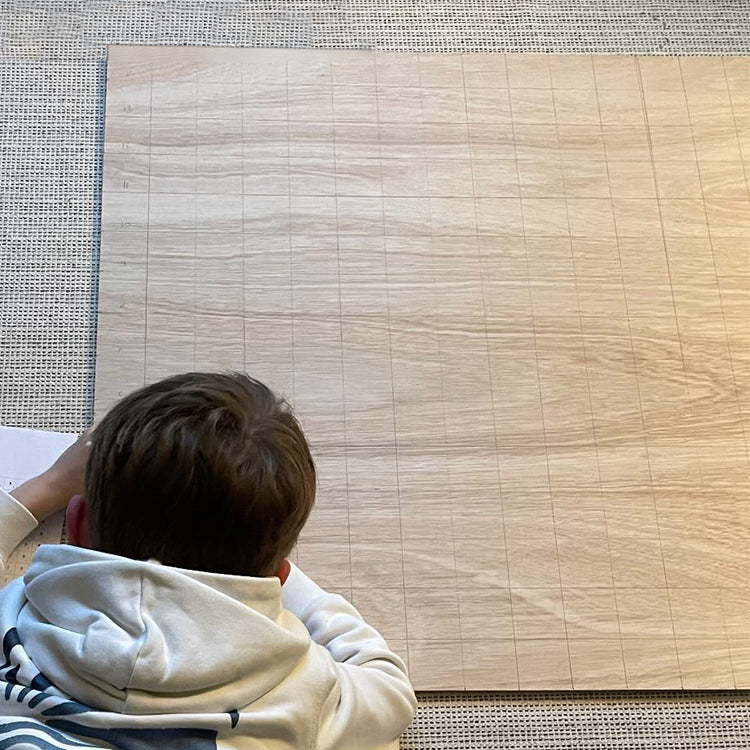
DRAWING GRID DIRECTLY
You can draw the grid directly on the backboard as well. Most of the grids are regular.
-
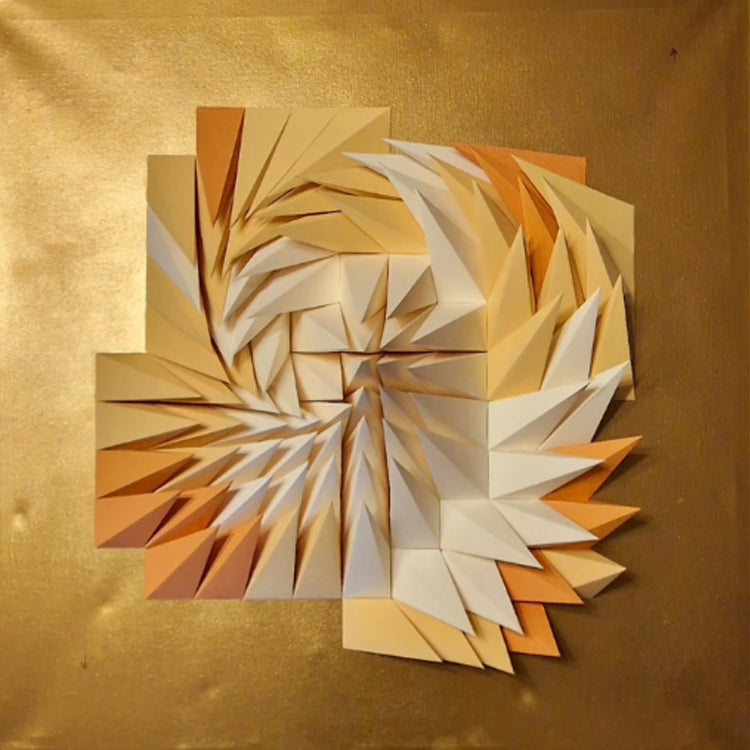
Assebmling the blocks straing away is possible as well.
Once the grid is complete, you’re ready to attach the individual blocks to the backboard.
- Choose your adhesive based on the material of the blocks and the backboard. For foamboard and lighter materials, double-sided adhesive tape may work. For heavier materials like wood or MDF blocks, use strong adhesives such as wood glue, epoxy, or construction adhesive.
- Apply adhesive evenly to the back of each block and press it firmly onto the backboard, ensuring it aligns with the grid markings. Use a level to make sure each block is straight.
- Allow time for drying: Follow the drying time specified on the adhesive packaging. For heavier blocks, you may need to clamp the blocks in place while the glue sets.
05 / GLUEING
-

PATTEX - MULTI PURPOSE / INVISIBLE
Any multi-purpose glue will do. I recomend using an transparent one.
-

PAPER ART GLUE
This is for professinals. The glue dries clear. It provides excellent adhesion to paper. The funnel makes the application easy.
-

HOT GLUE GUN
This is a fast and cheap solution. The glue is adhesive immediately. And for the adhesion is more than enough. However, the hot glue gun often leaves strings or tails which need to be cleaned afterwards. Nevertheless, this is our favourite tool when mounting the blocks to the backboard.
06 / CREATIVE FINISHING IDEAS FOR YOUR BACKBOARD
Paint the Backboard: Consider painting the backboard a contrasting color to the blocks for a modern, eye-catching design.
Fabric-Covered Backboard: Stretch and staple fabric over your backboard to add texture and depth to your art. This can give the piece a softer, more elegant look.
Distressed or Stained Wood: For a rustic feel, use distressed wood or apply wood stain to give the backboard a warm, natural appearance.
-
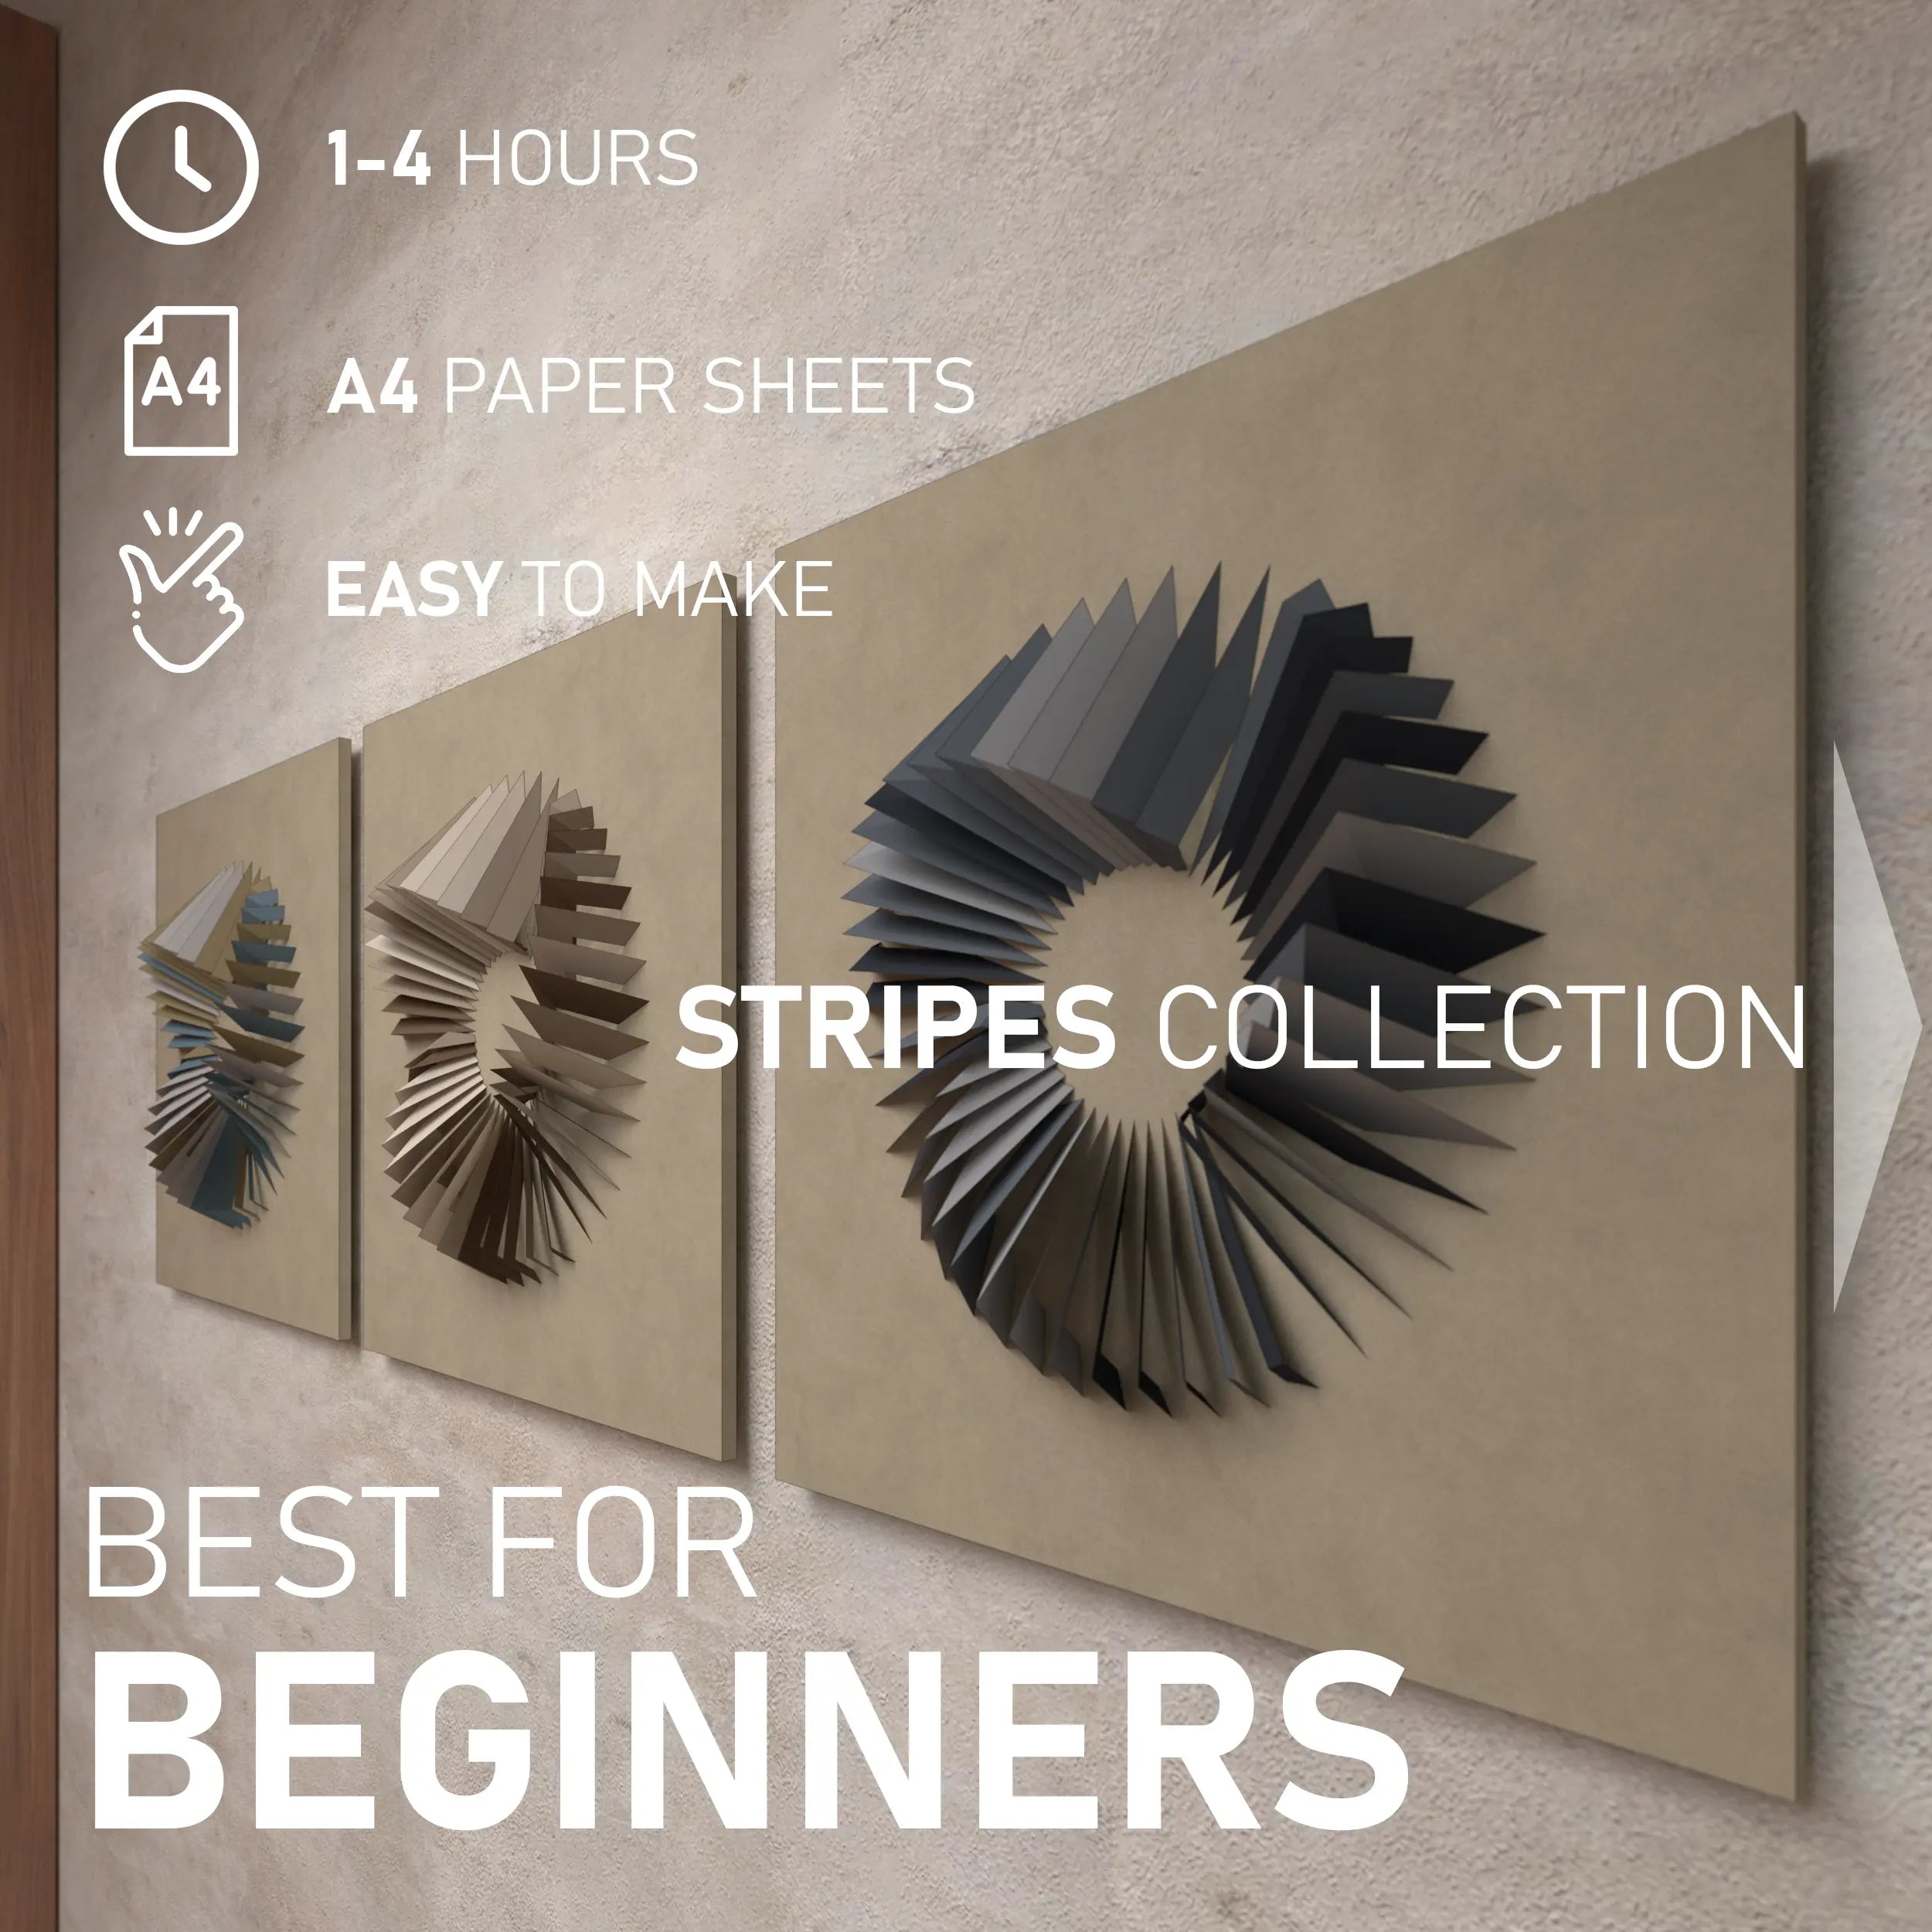
CONTINUE TO THE STRIPES COLLECTION
LOOKING FOR SOMETHING
EVEN EASIER TO START WITH?Designs in PARAGAMI STRIPES COLLECTION are the BEST TO START with.
- It takes 1-4 hours to make.
- No complex folding, or glueing.
- The template is prepared in A4 paper formats - which you can print with any desktop printer at home.
- The design is optimized and colour paper is efficiently used. You will not need a large amount of paper sheets.
-
APPLY FOR A 30% DISCOUNT ON YOUR NEXT PURCHASE
Once you finish the wall art, let us know! Allow us to share photos of
your piece on social media and get a 30% discount on your next purchase!


