HOW TO MAKE PARAGAMI DIY SOUND ABSORBER / ACOUSTIC 3D WALL ART
It this article you learn how to turn Paragami into your DYI Actoustic 3D wall art, that absorbs and reduces reverberation. Improve sound quality and to get a healthier and more conducive environment.
Upgrade you Paragami into an original on-of-a-kind acoustic art panel.
Disclaimer: This is just a prototype. I’m confident that many of you will take this idea and perfect it!

Paragami Acoustic Wall art - prototypes base on High Tide and Coral Sponge.
You will need:
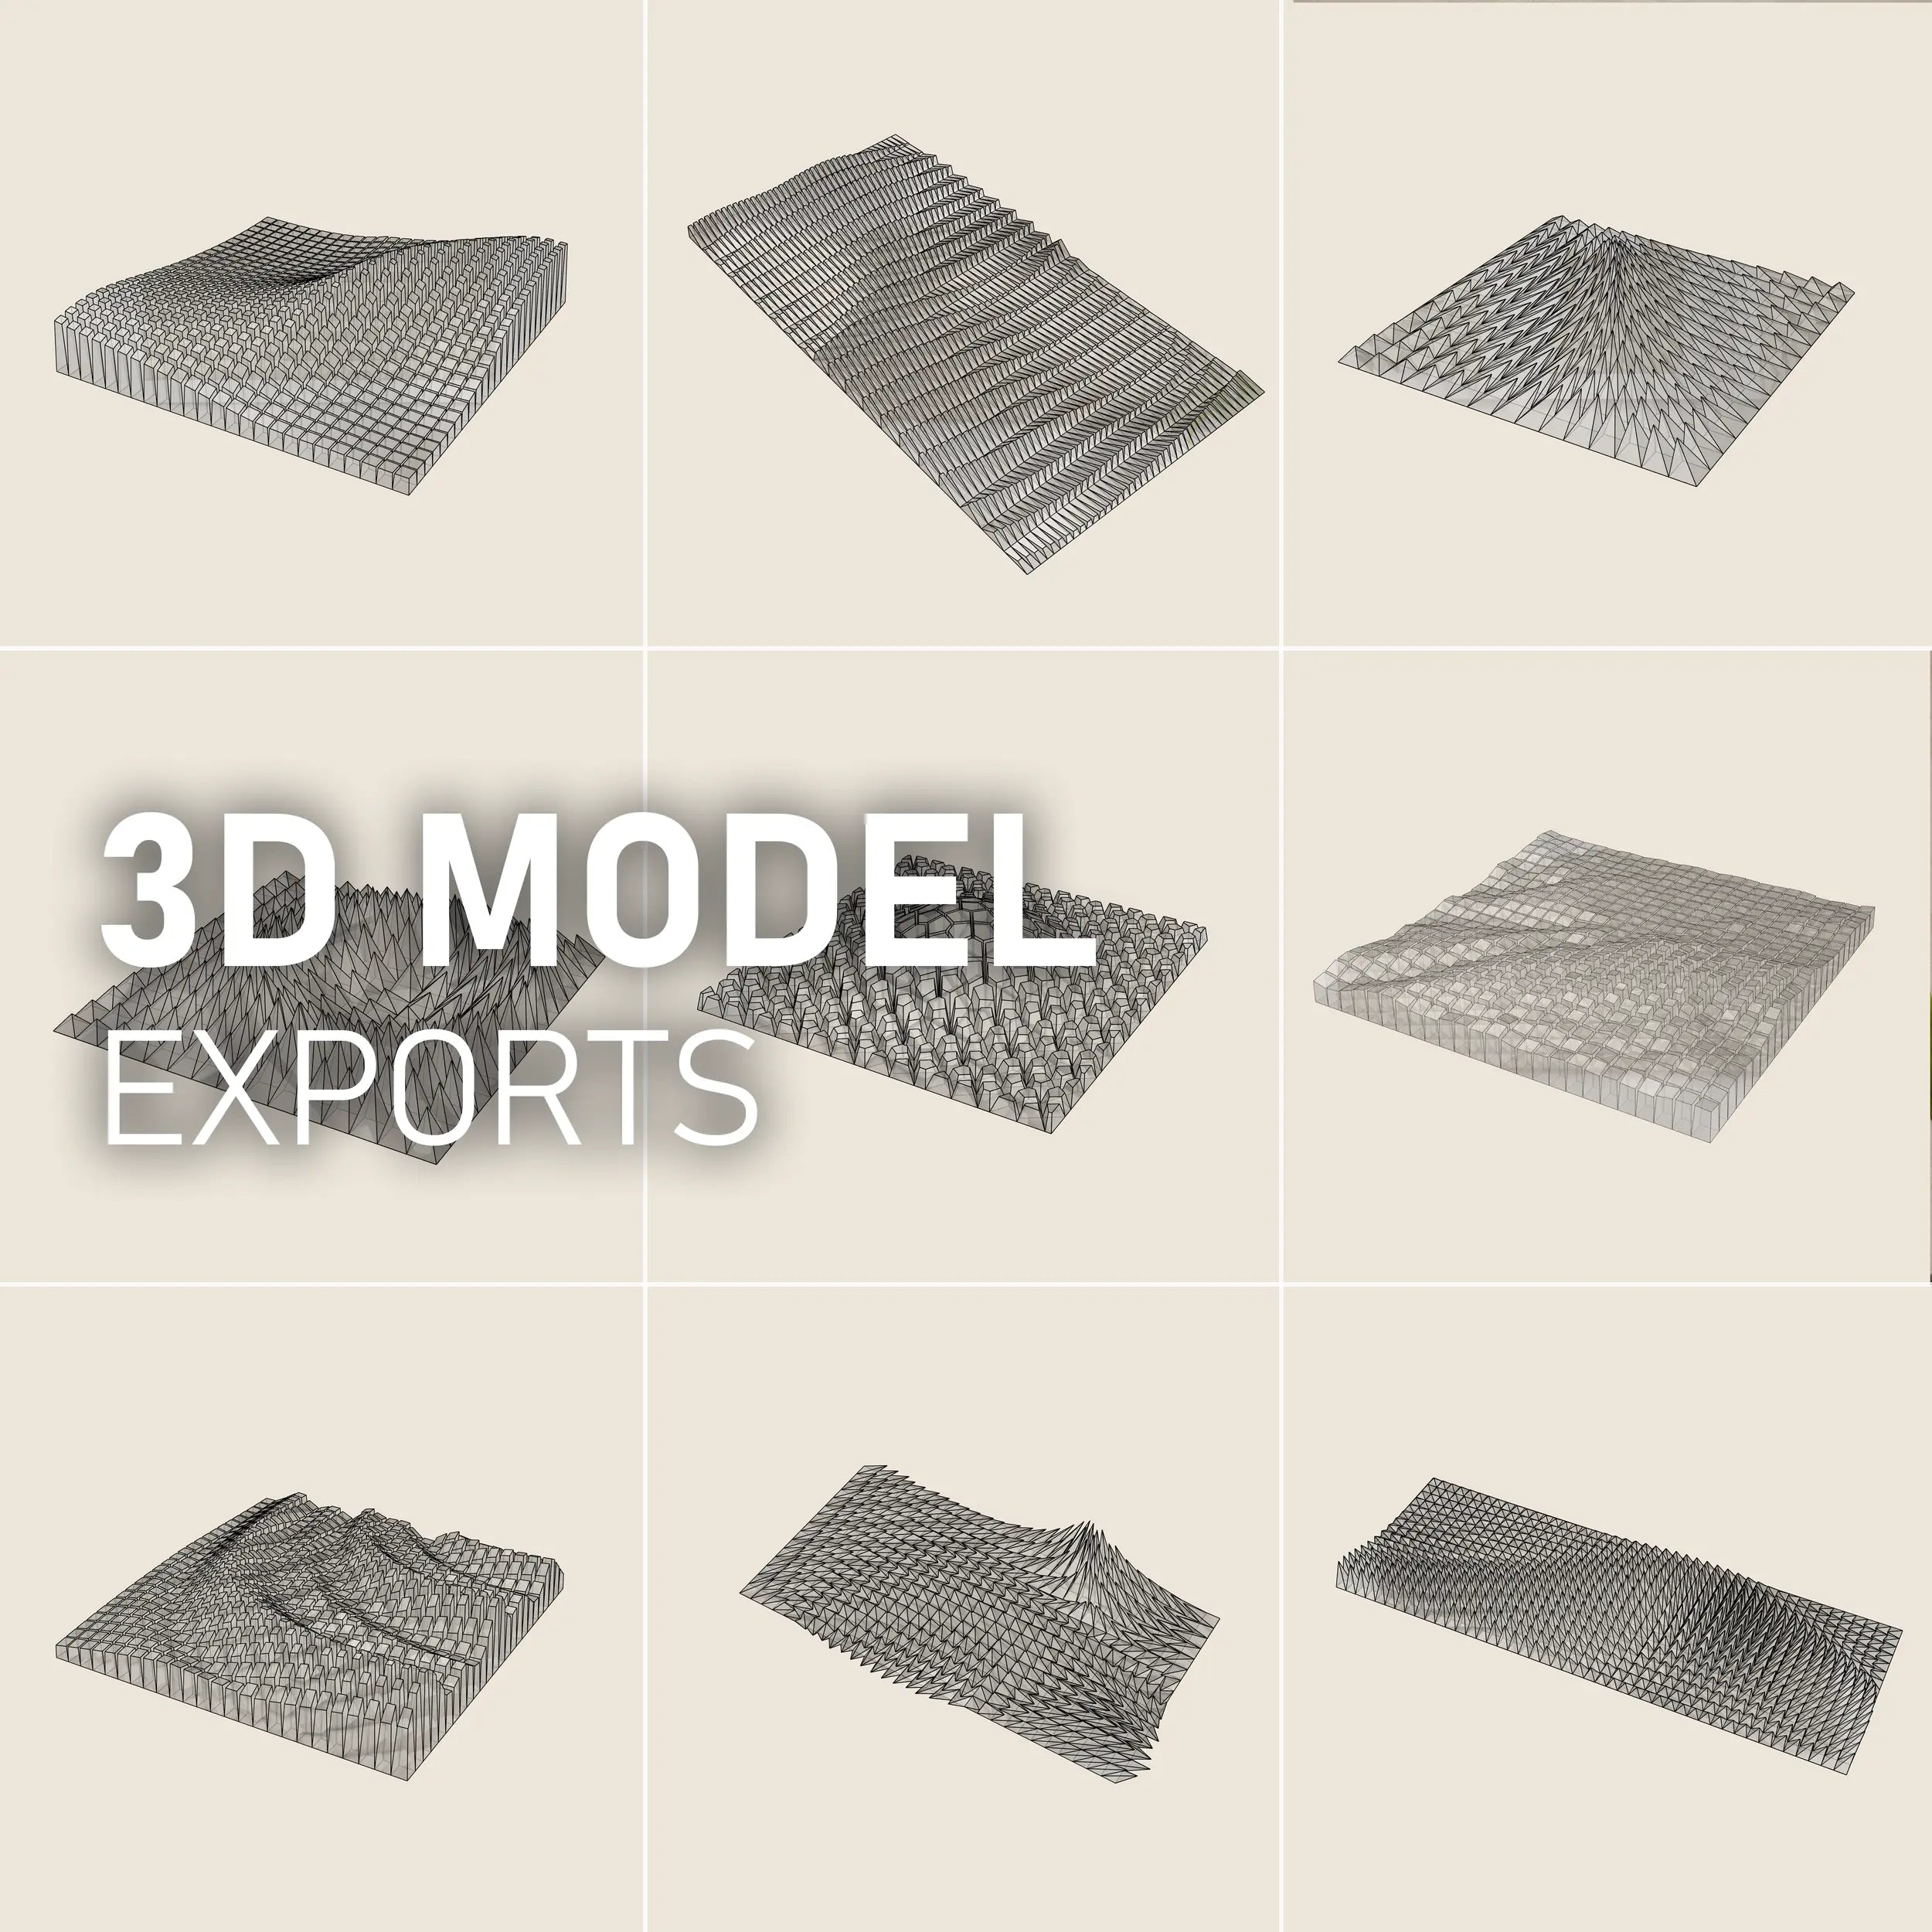
- Paragami Template - 3D model export
- 3D Printer / PLA
- Protective equipment / Gloves, Respirator • Sandpaper / Grinding Tools
- Filler Spray
- Colour Spray / Stone Look Paint
- Low-Expansive Flexible Acoustic Construction Polyurethane Foam / Ceresit WhiteTeq, Den Braven Elastic 3D White, Soudal Flexi Foam, ...)
- Backboard / Chipboard (or Kapa foam, Plywood, Wood, MDF, Extruded Polystyrene, ...)
- Blade, knife, cutting mat
- Tools and Paint for painting the board / Beige Colour, Painting Roller..)
- Anchor Rings & Screws
- Adhesive / Pattex Transparent
01) GET THE TEMPLATE
The protytype is done with 3D printed model. The koncept works with previous designs as well.
02) SET UP THE 3D PRINTING - BLOCKS
-

IMPORT
Drag & Drop individual blocks into your slicing program (I’m using Prusa Slicer). You can flip them upside down. Then, use the “Arrange” function to evenly distribute the blocks on the print plate.
-

ALIGNMENT
Select one block, click on the “Place on face” tool and choose the face you want as the base. The block will align automatically. Apply this to all the blocks.
-

SETTINGS
- Infill 0%
- 2 Top Solid layers
- 0 Bottom Solid layers
- 2 Perimeters
- 5mm Brim in case of stability issue
You can apply this approach to "pyramid" block templates as well

When printing 3D model, which is has "open blocks" (such as Coral Sponge) - Do not turn the blocks upside-down. Just print them as they are wich the following setting:
- Infill 5%
- 2 Top Solid layers
- 4 Bottom Solid layers
- 2 Perimeters
03) POST-PROCESING
-

SANDING
After printing, grind off the visible layer stepping on each block.
-

FILLER SPRAY
Use a filler spray, which helps cover those lines and any small imperfections. If you want a flawless finish, sand it again and apply more filler spray if needed.
-

FINAL COLOUR
Then apply the final colour. I used a "stone look" spray. It hides the imperfections well. There’s no special recommendation on the brand.
04) FOAM
-
FLEXIBLE ACOUSTIC FOAM
I'm not using standard construction foam; instead, it's FLEXIBLE ACOUSTIC FOAM, which has distinct properties and structure.
The manufacturer claims in the datasheet that the foam offers a sound insulation rating (according to EN ISO 717-1) of 62 dB.
This foam is open-cell and flexible, meaning it can be compressed and later it returns to its original shape. It allows airflow.
Additionally, when cut, it becomes visibly porous, which enhances its sound absorption and helps reduce reverberation.
In that sense, it behaves similarly to the common polyurethane pyramid-shaped acoustic foam panels. -
There are several brands, but I’ve tested a few, and they all seem pretty similar. Just grab a
low-expansion ACOUSTIC/FLEXIBLE foam from your local hardware store or go for the cheapest one online. Low-expansion foam is important because you want small, tight bubbles.Filling the blocks with foam takes a little practice. It expands over time and can sometimes spill over the edges. It’s no big deal if that happens; the surface dries first, so it doesn’t fully stick and is easy to clean up later.
-

-

FILLING
Filling the blocks with foam takes a little practice. It expands over time and can sometimes spill over the edges. Fill around 60%. It’s no big deal if that happens; the surface dries first, so it doesn’t fully stick and is easy to clean up later.
-

TRIMMING
Once the foam has set, it’s time to trim the excess. I designed the blocks with flat tops, so just grab a knife and carefully cut away the surplus foam. It’s easy to do!
-

Tip: Be patient and let the foam fully harden—overnight if possible. Even if it feels dry on the outside, the center might still be expanding. If you cut it too soon, not only will your knife get messy, but the foam might continue expanding, creating large bubbles. You’ll end up with an uneven surface, so it’s best to wait.
-

-

-

5) BACKBOARD
-
 Read more about BACKBOARD
Next step is to prepare the backboard. I picked up a chipboard from the hardware store, and they even cut it to size for me. You can also use Kapa foam board, plywood, MDF, or any material you think complements the acoustic properties.
-

Paint the board with a roller.
-

Once it’s dry, attach the anchor rings on the backside.
06) LAYOUT
-

PRINT OUT THE LAYOUT
Print out the layout at full scale from the PDF.
-

POSTER
You can do it on your home printer using the "Poster" mode. This will split the layout into sheets that you can tape together.
-

NUMBERED BLOCKS
I 3D printed a numbered version, which made assembly much easier. The download package also includes a plain version, but trust me, the numbered one is a lifesaver!
07) ASSEMBLING
-

PRE-ASSEMBLY
Position the blocks on the layout.
-

ASSEMBLY
It is not necesarry to redraw the layout directly on the backboad. Start with the first line of blocks and went from there.
-

GLUE
I’m using Pattex Transparent glue. You can probably guess why transparent glue is the best option!

THAT'S ALL!
APPLY FOR A 30% DISCOUNT ON YOUR NEXT PURCHASE
Once you finish the wall art, let us know! Allow us to share photos of
your piece on social media and get a 30% discount on your next purchase!


